3D Pen Starter Guide
By Admin, 06/07/2026 · 8 min read
3D pen
Make a keychain and build 3D forms
Learn the complete workflow: match the filament, start the pen safely, make a strong flat keychain, and assemble supported three-dimensional structures.
Survey and feedback
Help improve MakerAccess
Have an idea for what MakerAccess should stock, improve, or explain next? Share it in the survey. If you bought or used a product and want to comment on the item itself, use the product feedback form.
Do the surveyProduct feedback formStart here
Operate the pen step by step
Learn the controls first, then follow the complete power, loading, drawing, unloading, and shutdown sequence.
STEP 1
Identify every control
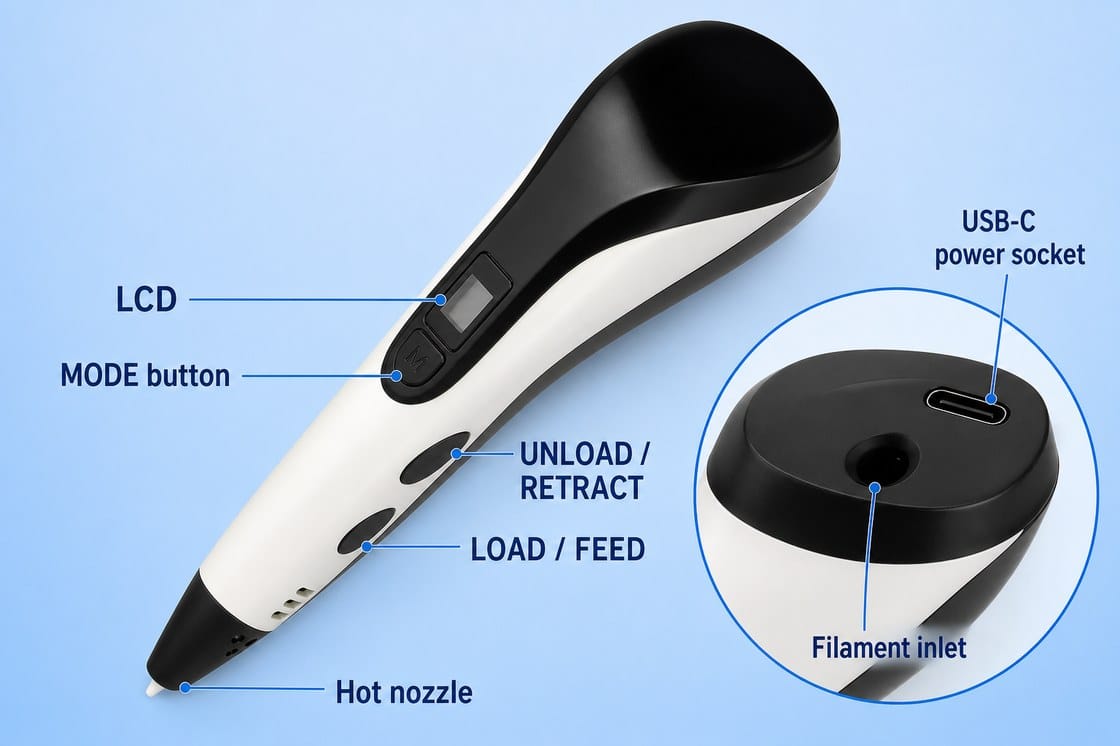
The LCD shows the material, temperature, and speed level. The single MODE button beside the LCD changes the displayed option. The lower oval side button nearest the nozzle is LOAD / FEED; it starts heating, feeds filament, starts extrusion, pauses extrusion, and wakes the pen. The upper oval side button is UNLOAD / RETRACT. At the rear, the round filament inlet and USB-C power socket are two separate openings.
STEP 2
Connect power and operate MODE
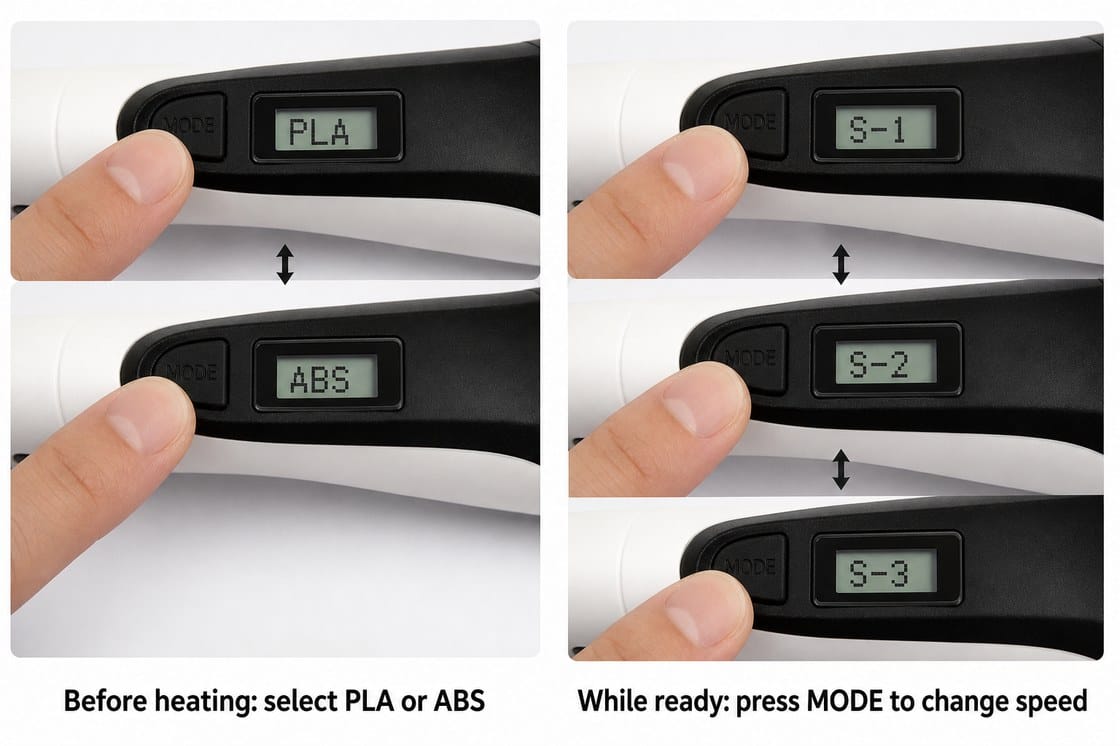
Put the pen in its heat-safe stand and connect the supplied USB-C cable to the rear USB-C power socket and a suitable power adapter. Before pressing LOAD / FEED, press MODE until the LCD matches the filament label: PLA for 1.75 mm PLA or ABS for 1.75 mm ABS. Do not identify material from colour. After the pen is hot and ready, each MODE press cycles the speed level: S-1 is slowest, S-2 is medium, and S-3 is fastest. Begin at S-1 or S-2 for better control.
STEP 3
Preheat and load the filament
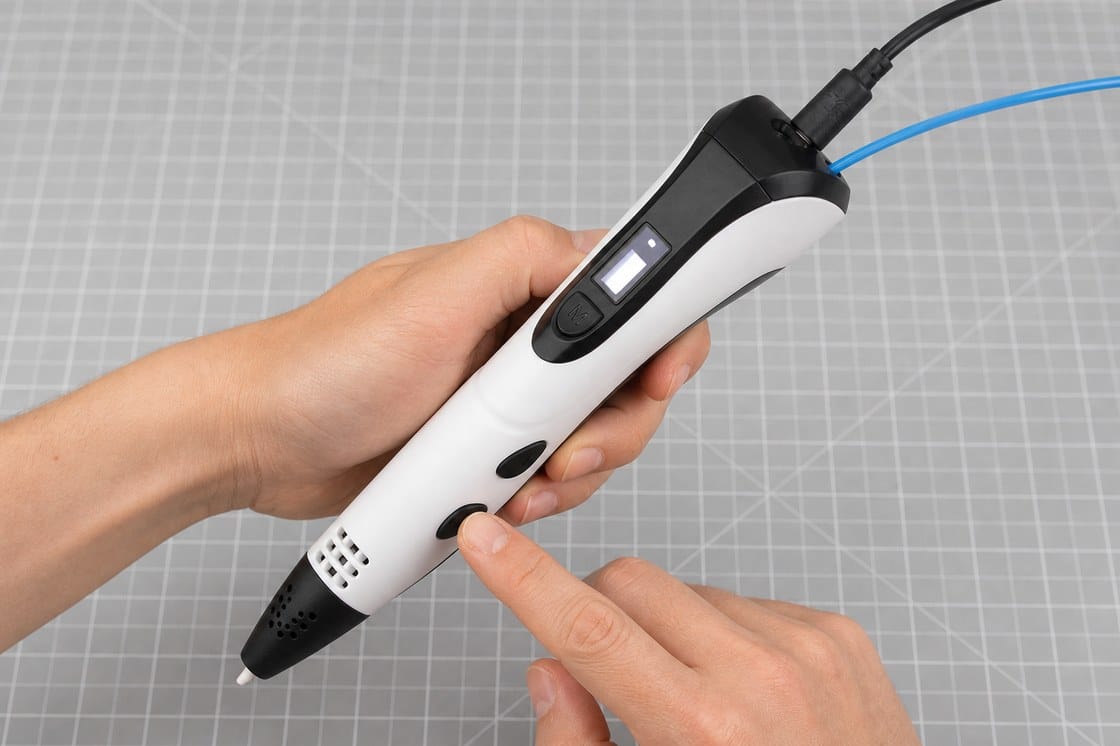
Cut off any swollen or angled filament end so it is straight and clean. Press LOAD / FEED once to begin heating. The indicator is red or orange while heating and changes to green when ready; the LCD rises toward the operating temperature. Only after it is ready, insert the filament into the rear filament inlet, press it in gently, and hold LOAD / FEED until the motor grips it. Keep holding until a smooth strand exits the nozzle, then release the button.
STEP 4
Start, pause, and control the line
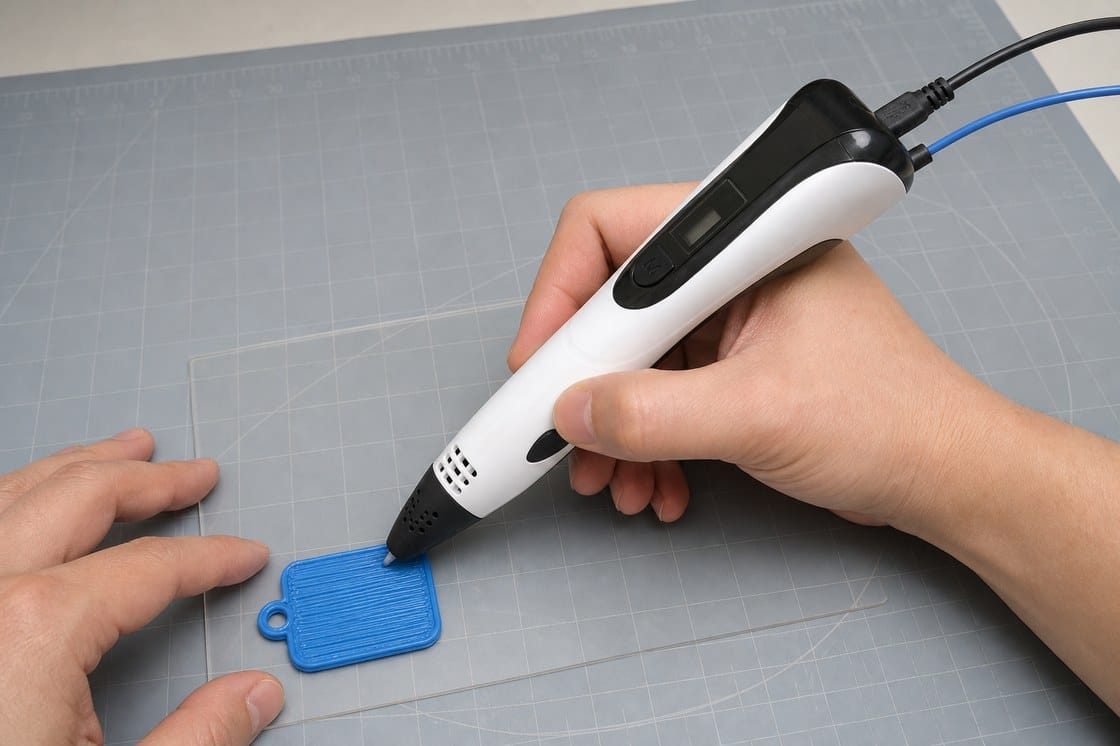
Press and hold LOAD / FEED to extrude while drawing; release it to pause. On versions that support continuous feed, a quick double-press starts continuous extrusion and one press stops it. Pause extrusion before changing speed, then press MODE to cycle S-1, S-2, and S-3. Use S-1 for corners and fine outlines, S-2 for normal tracing, and S-3 for broad filling only after the flow is stable. Make two test lines on a silicone mat before using a stencil. Keep the nozzle about 1-2 mm above the surface so the strand is pressed down rather than dropped loosely.
STEP 5
Unload before changing colour or finishing
Keep the pen powered and at its ready temperature. Stop extrusion, then press the upper UNLOAD / RETRACT button once. Let the motor move the filament backward; do not pull against it. When the motor stops and the filament feels loose, remove it gently from the rear inlet. Cut away the softened end before storing or loading it again. If it does not move freely, stop and reheat the pen instead of pulling harder.
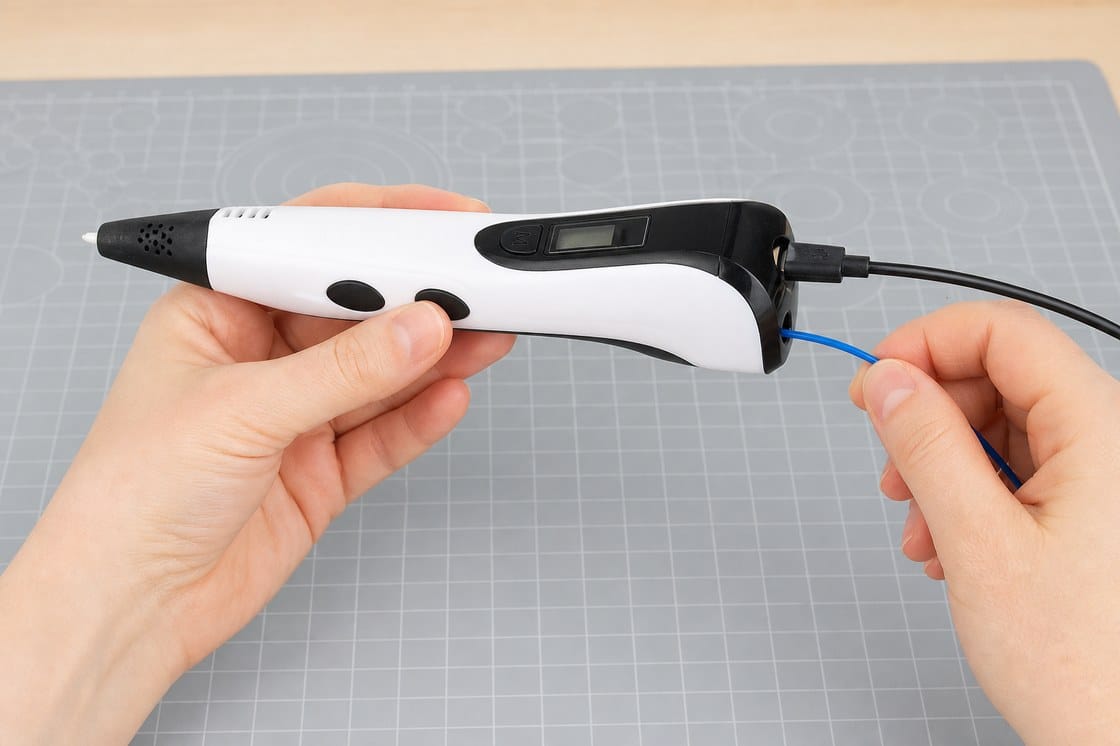
Button reference
If loading or unloading does not work
Finish safely
Shut down the pen
Unload while the pen is still hot, place it in the stand, unplug the adapter, and leave the nozzle untouched until completely cool. Coil the power cable loosely and store straight-cut filament in a dry bag.
Reusable technique
Work with a stencil
A stencil keeps outlines consistent and lets you repeat the same shape. The paper is only a visual guide; always draw on a suitable transparent barrier above it.
STEP 6
Prepare the stencil
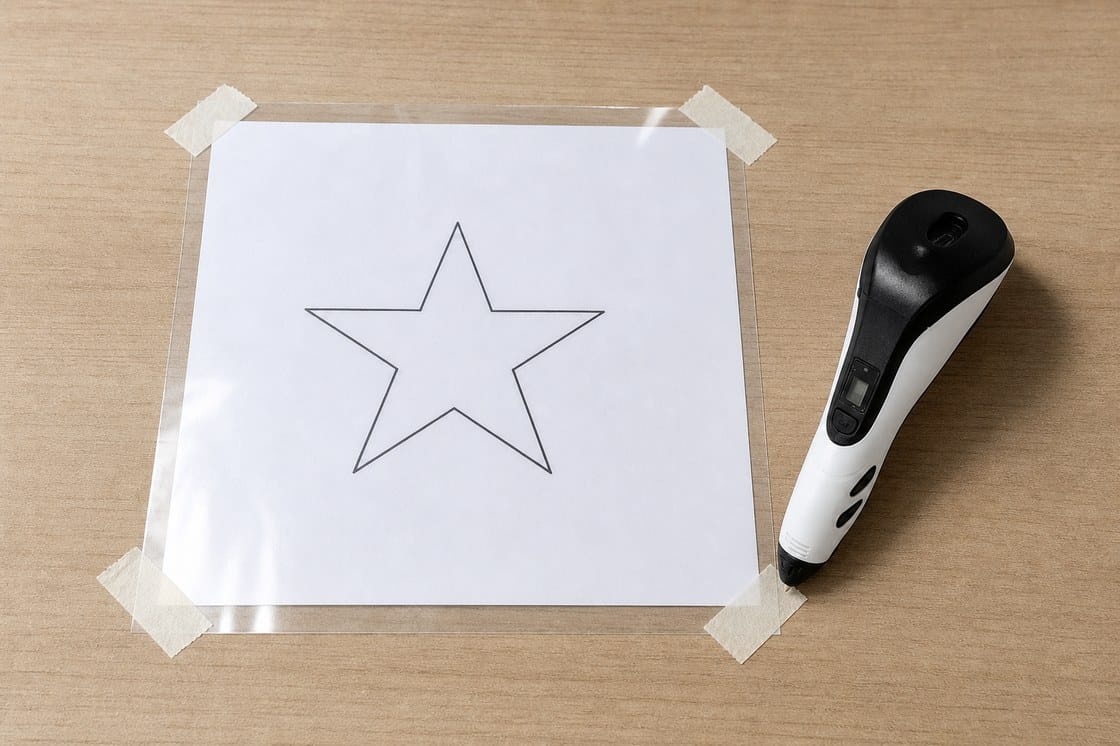
Print or draw a bold, simple outline with enough space between nearby lines. Put the paper on a flat surface, cover it with a clear heat-resistant drawing sheet, and tape the corners so neither layer moves. Do not place a hot nozzle directly on paper, ordinary plastic sleeves, a phone screen, or a tabletop.
STEP 7
Trace the complete outline
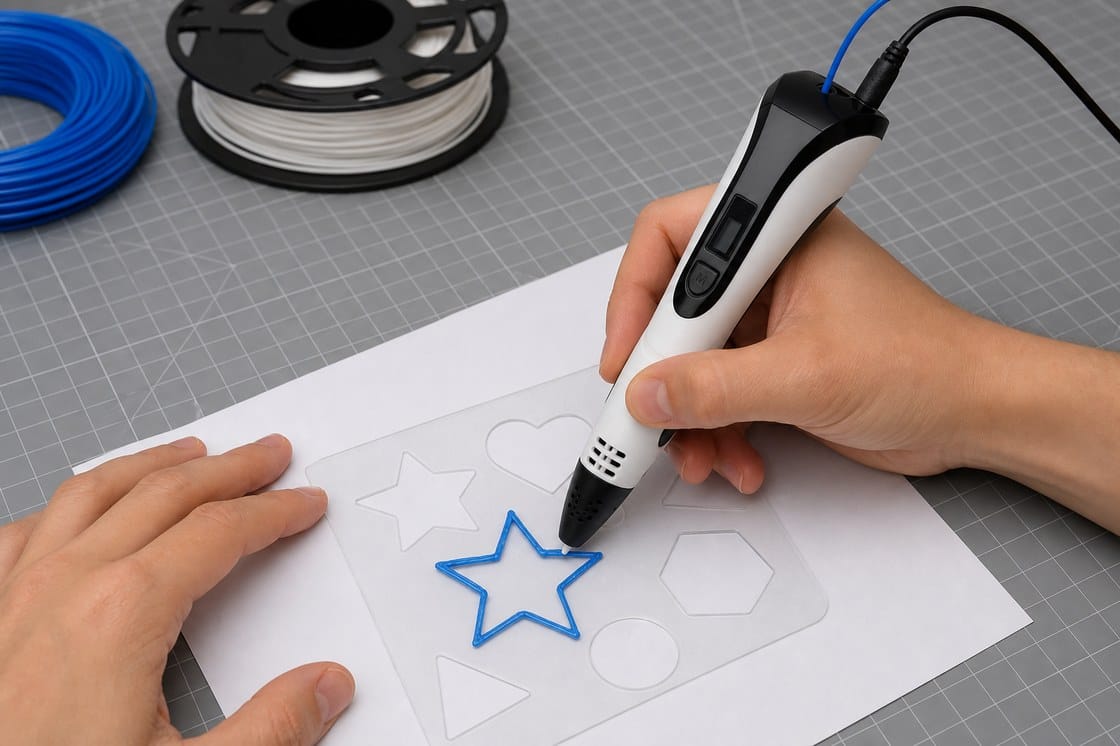
Start at a corner and follow the line in one direction. Keep the nozzle about 1-2 mm above the clear sheet so the strand is pressed into place. Pause briefly at each corner, overlap the finishing strand with the starting strand, and repair any gap before filling the shape.
STEP 8
Fill, cool, and lift the shape
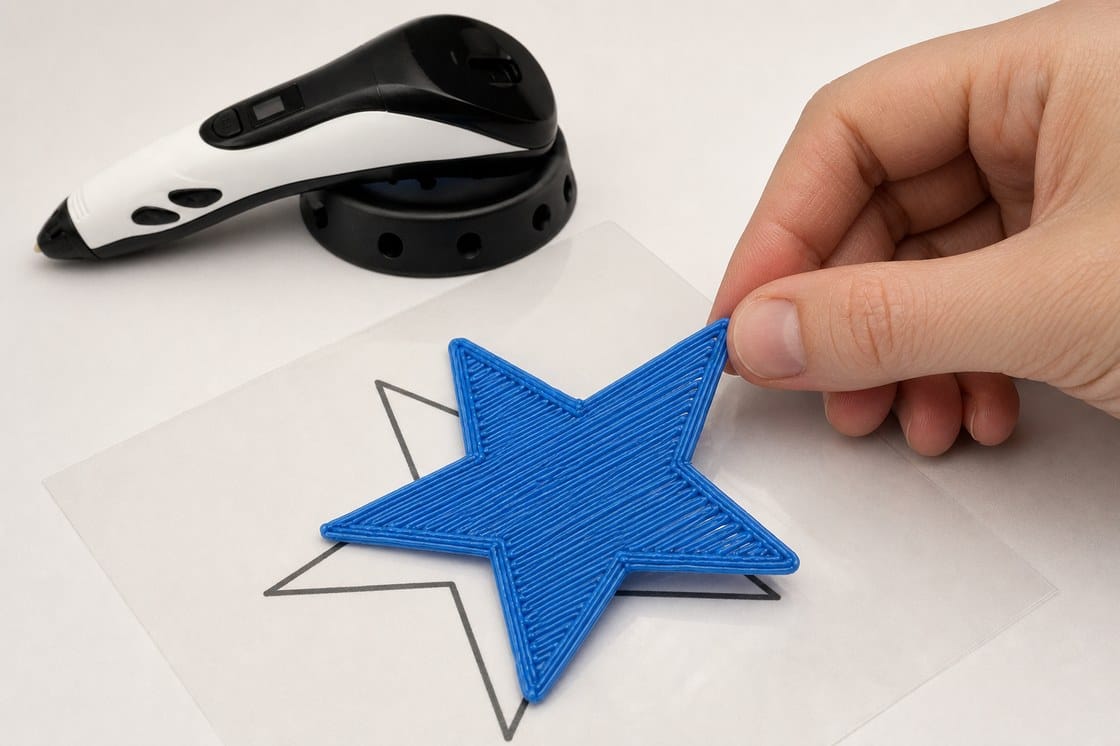
Fill the outline with connected parallel strands, working from one side to the other. Add a second thin layer across weak joints if needed. Stop feeding, place the pen in its heat-safe stand, and wait until the piece is completely cool before lifting one edge gently from the drawing sheet.
Choose a useful stencil
Project 1
Make a keychain
Keep the tag flat and use one colour until the basic shape is complete.
STEP 9
Trace a closed keychain outline
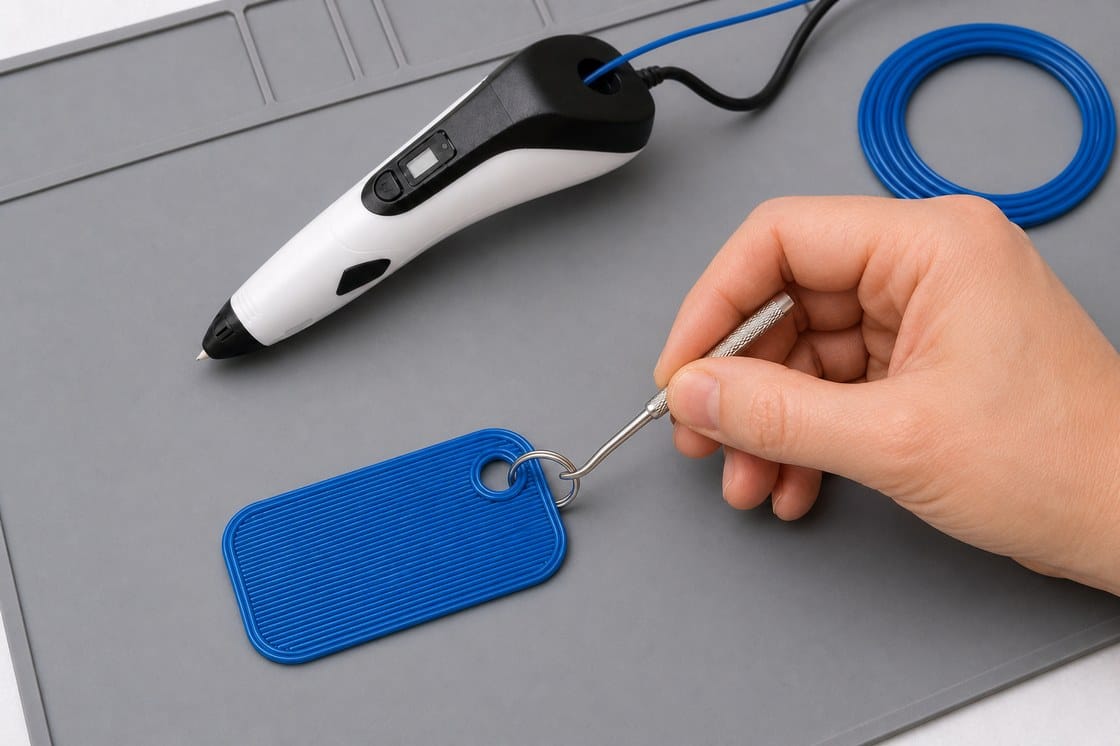
Place a simple template beneath a transparent drawing sheet or silicone mat. Trace the outer border and leave a circular chain hole near one end. Join the final line back into the starting point so the border has no open gap.
STEP 10
Fill the tag and reinforce the hole
Fill the body with parallel strands that touch the border and the strand beside them. Draw two or three complete rings around the chain hole and connect those rings firmly to the filled body. Leave the centre of the hole open.
STEP 11
Cool the tag and fit the ring
Wait until the tag is fully cool, peel it from the mat, and check that it does not flex easily around the hole. Add a reinforcing layer to the back if needed. Trim only cold strands, fit one split ring through the reinforced hole, and pull-test it gently.
Project 2
Build a three-dimensional structure
Make supported flat panels first, then join them. Do not try to draw the whole structure into unsupported air.
STEP 12
Draw matching braced panels
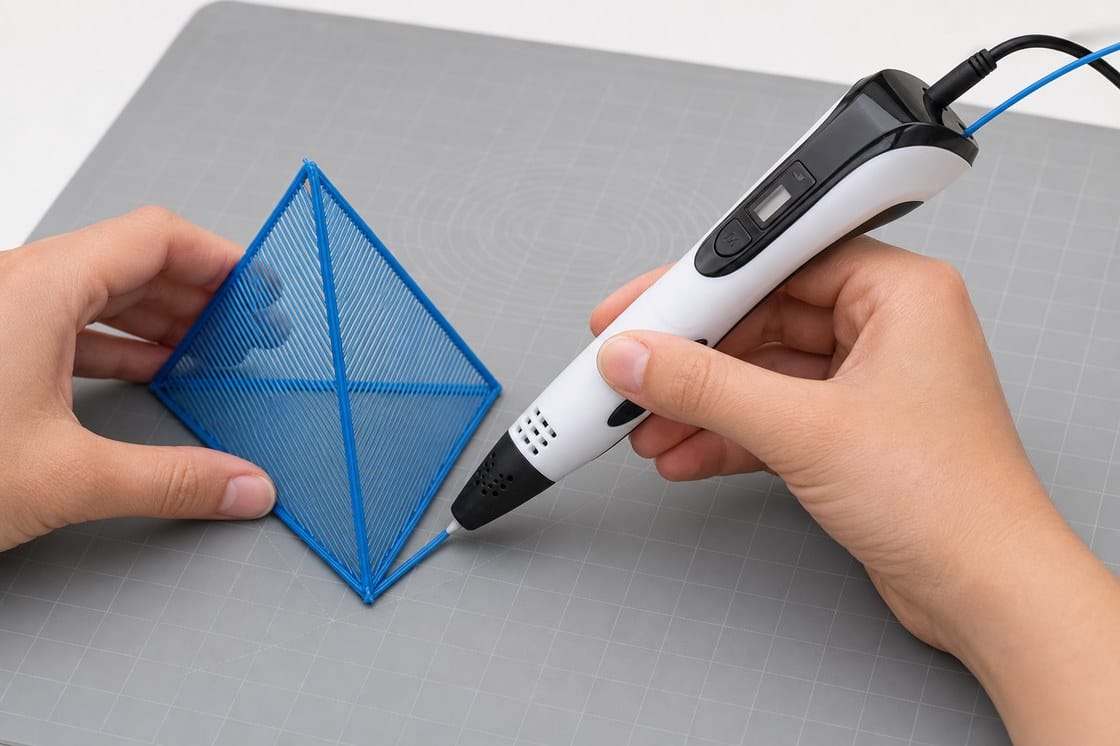
Draw three matching triangular panels flat on the mat. Complete the outer frame first, then add a diagonal brace that touches the frame at both ends. Let the panels cool and compare their sizes before assembly.
STEP 13
Tack and weld the panels together
Hold two cooled panels at the required angle and tack their top and bottom corners. Join the third panel, then run short continuous seams along the shared edges. Reinforce the base corners and top after the first seams cool, then test whether the structure twists.
Work safely
Sources
Further guidance
Product controls and temperatures vary, so use the manual supplied with the specific pen first.