Bambu P1S beginner guide
Your first print from model to finished part
Follow one path from choosing a model to preparing it in Bambu Studio, checking the first layer and removing the finished print.
Start here
Print on the Bambu P1S
Complete each step in order. Select an image to open the full-size version.
Step 1Choose a model
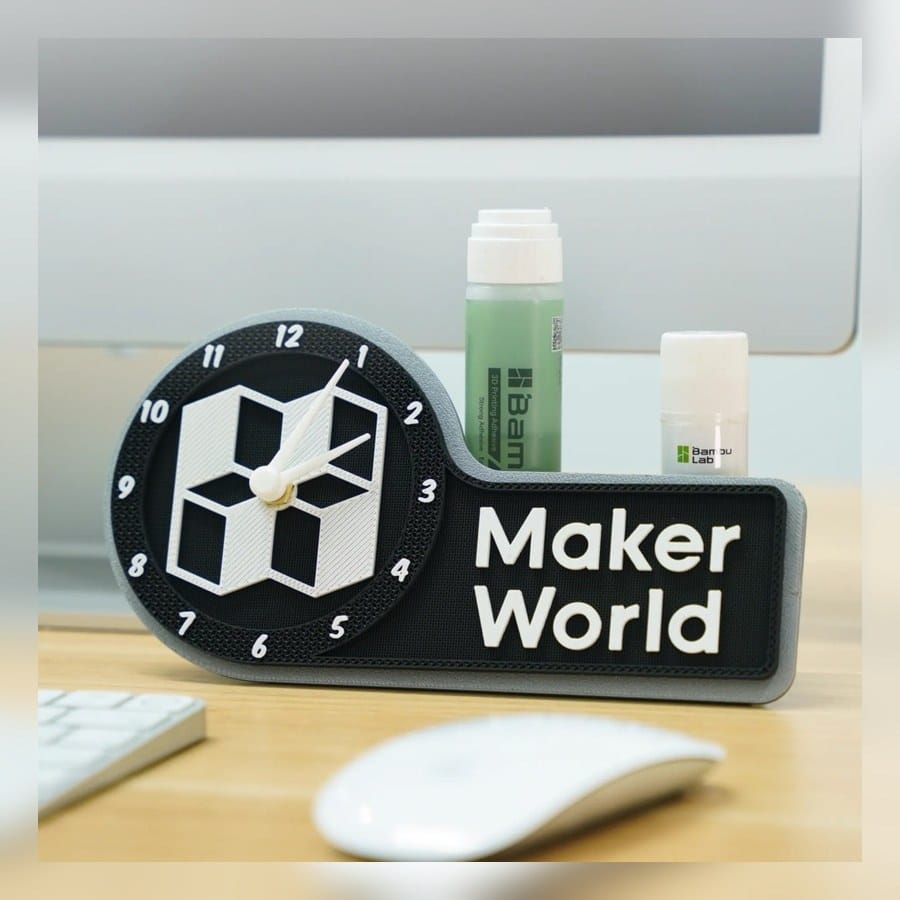
MakerWorld has ready-to-print models and prepared print profiles. Start with a small model that has clear photos and printing notes.
- Browse MakerWorld Models or the Bambu Kit Models collection.
- Check the finished photos, required parts, material, supports and comments before downloading.
- For a first print, choose Open in Bambu Studio or download a 3MF print profile; review its settings before printing.
Step 2Prepare the plate and filament
The plate surface and the loaded filament must match the choices you make later in Bambu Studio.
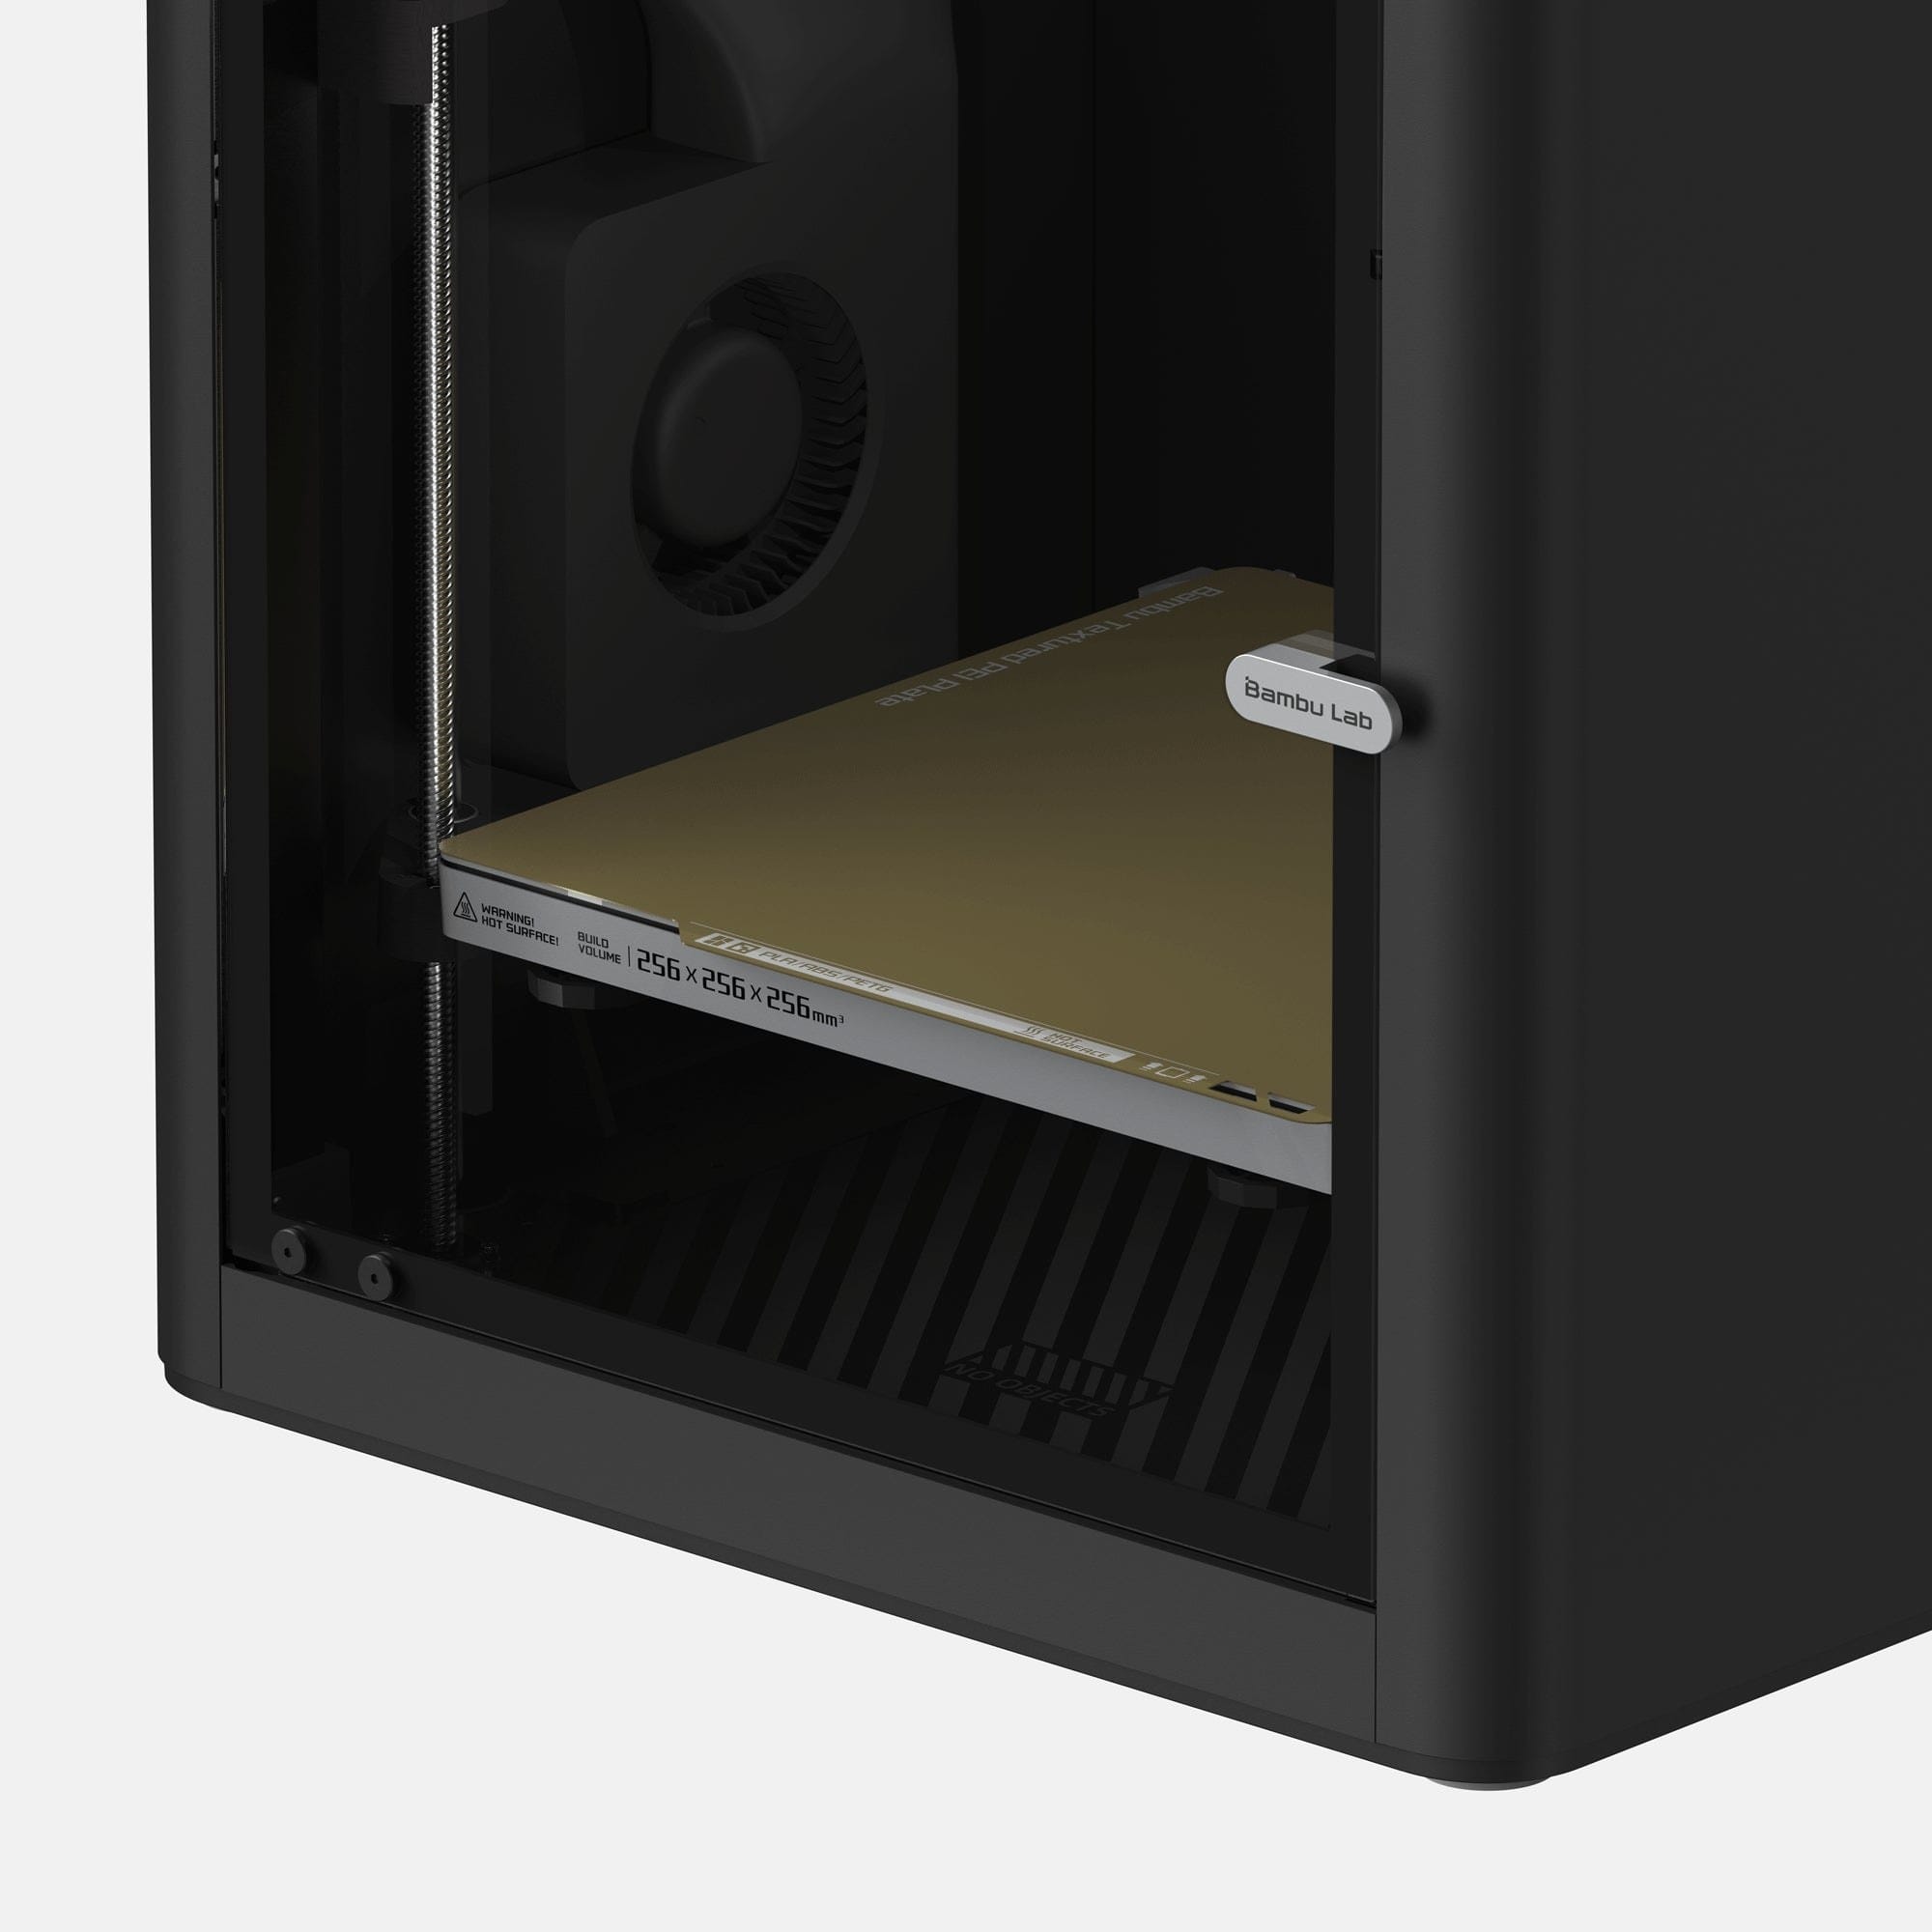
- Remove leftover plastic and make sure the plate is sitting flat with nothing trapped underneath.
- If the plate is greasy or dusty, wash it with dish detergent and water, then dry it without touching the print area.
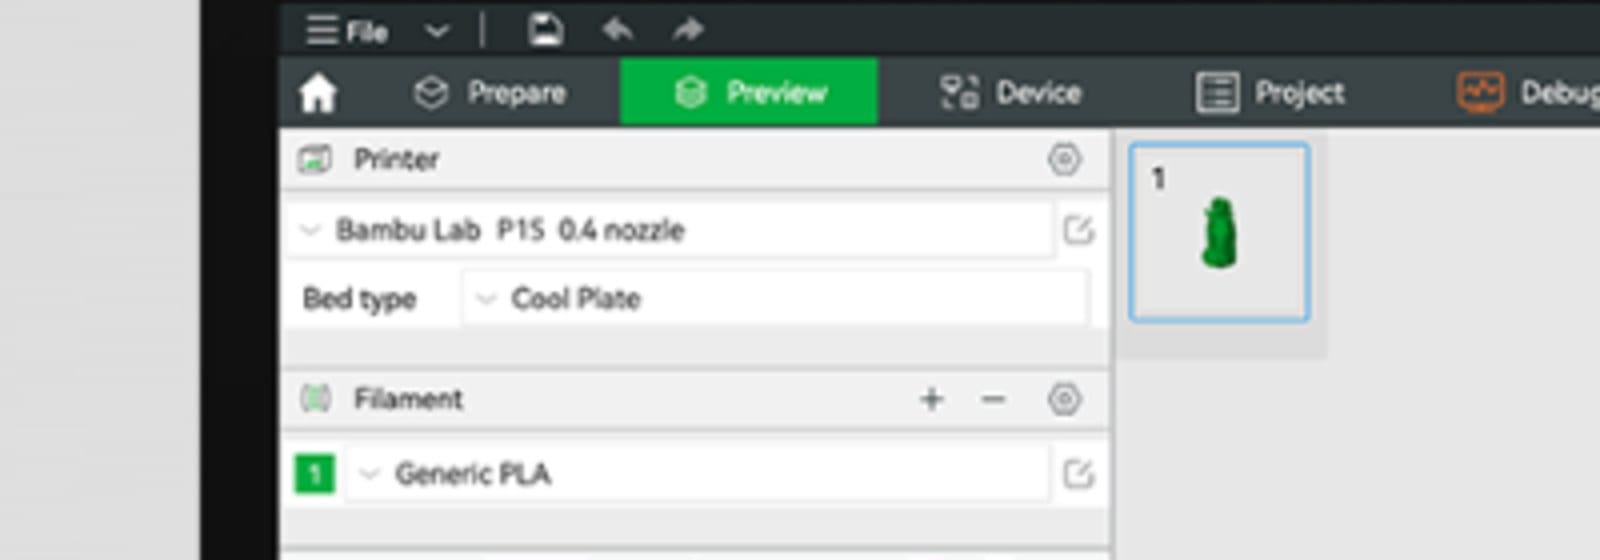
- Check the spool label. The loaded material, such as PLA, must match the filament profile selected in Bambu Studio.
Step 3Open and orient the model
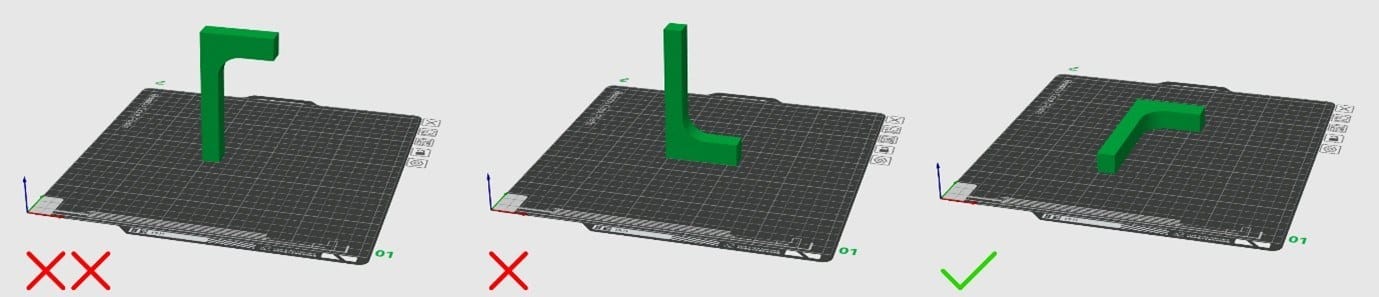
Place the broadest stable face on the plate. A better orientation usually improves adhesion and reduces support material.
- Select Bambu Lab P1S and the installed nozzle size, normally 0.4 mm.
- Keep every part inside the printable area and use Lay on Face for a broad, stable base.
- Turn on supports only where overhangs cannot print reliably; changing orientation can remove unnecessary supports.
Step 4Match the settings and slice
The slicer converts the 3D model into layer-by-layer movement, extrusion and temperature instructions for the printer.
- Match the printer, nozzle, plate type and filament profile to the real machine and loaded spool.
- A 0.20 mm Standard process is a practical starting point for a normal PLA model.
- Select Slice plate, then inspect Preview for the first layers, supports, print time and filament use.
Step 5Send and start the print
Send the sliced plate from Bambu Studio, or choose an exported file from the printer's microSD card.
- Select Print plate, choose the correct P1S and confirm the filament mapping before sending.
- Keep bed levelling enabled unless an experienced operator has a specific reason to change it.
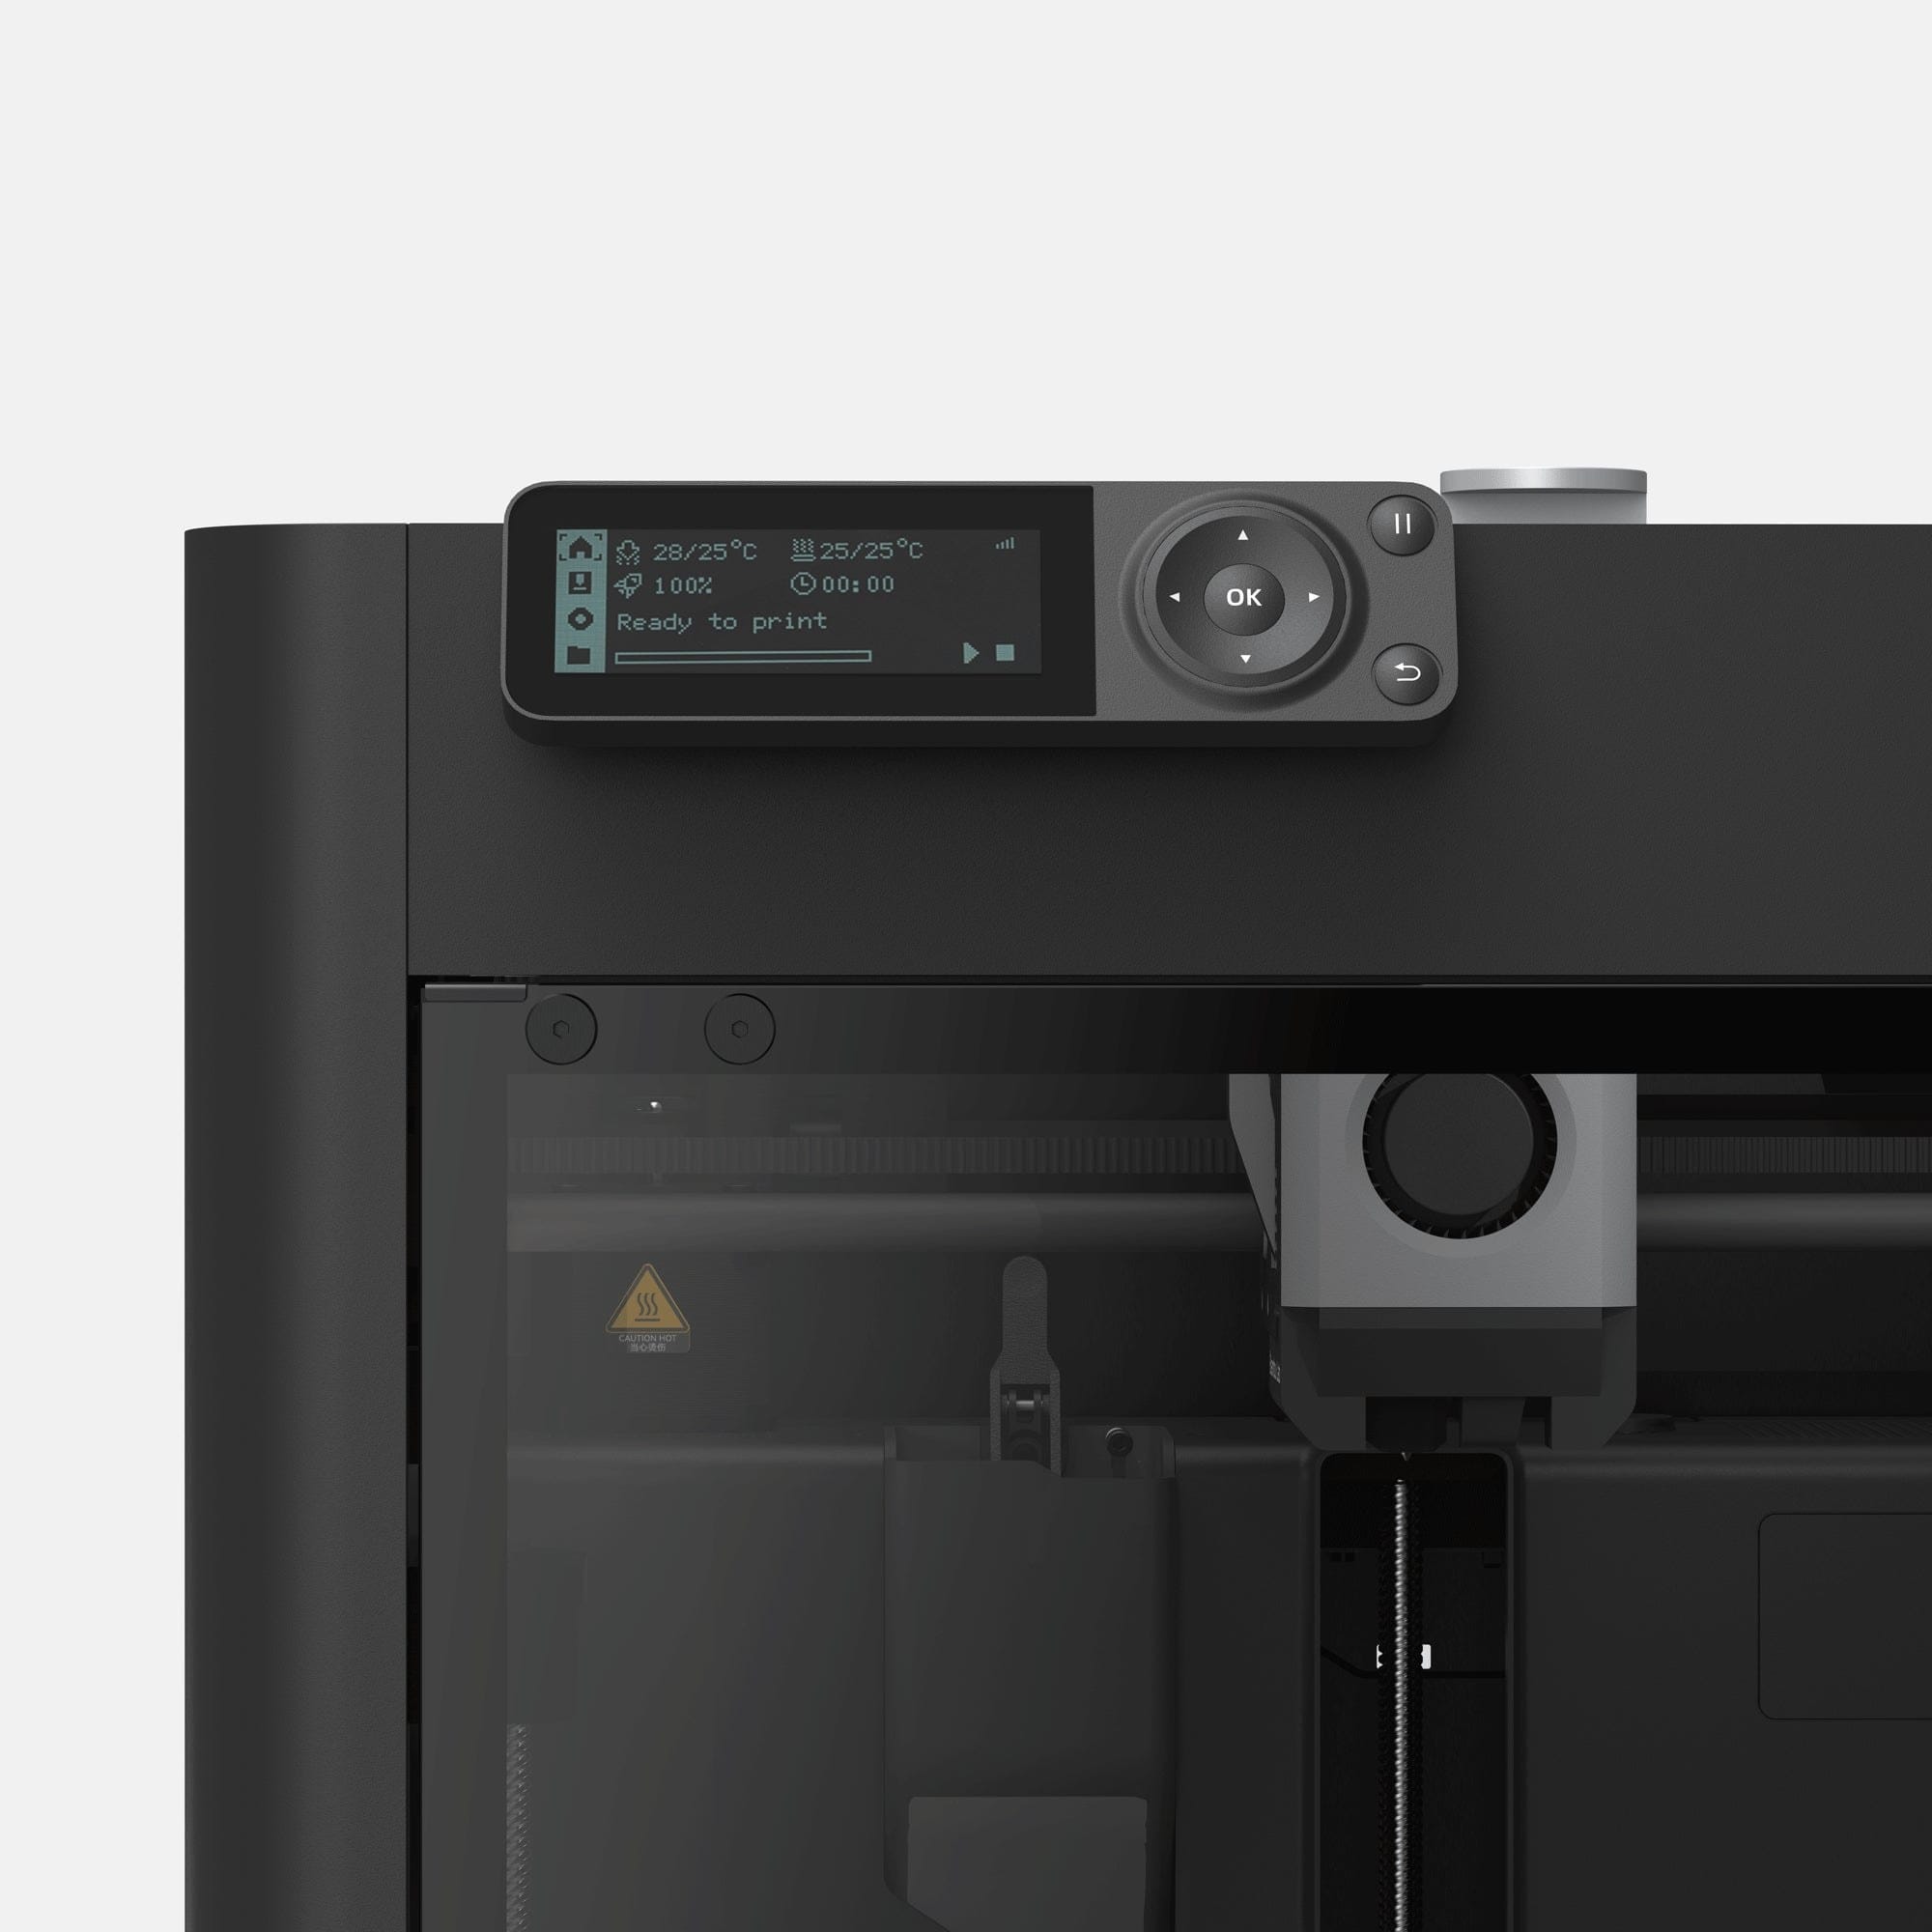
- The P1S panel uses the direction ring and OK button, not touch input. Let homing, heating and nozzle cleaning finish before judging the print.
Step 6Check the first layer
The first layer is the best early warning of a dirty plate, poor adhesion or a misplaced build plate.
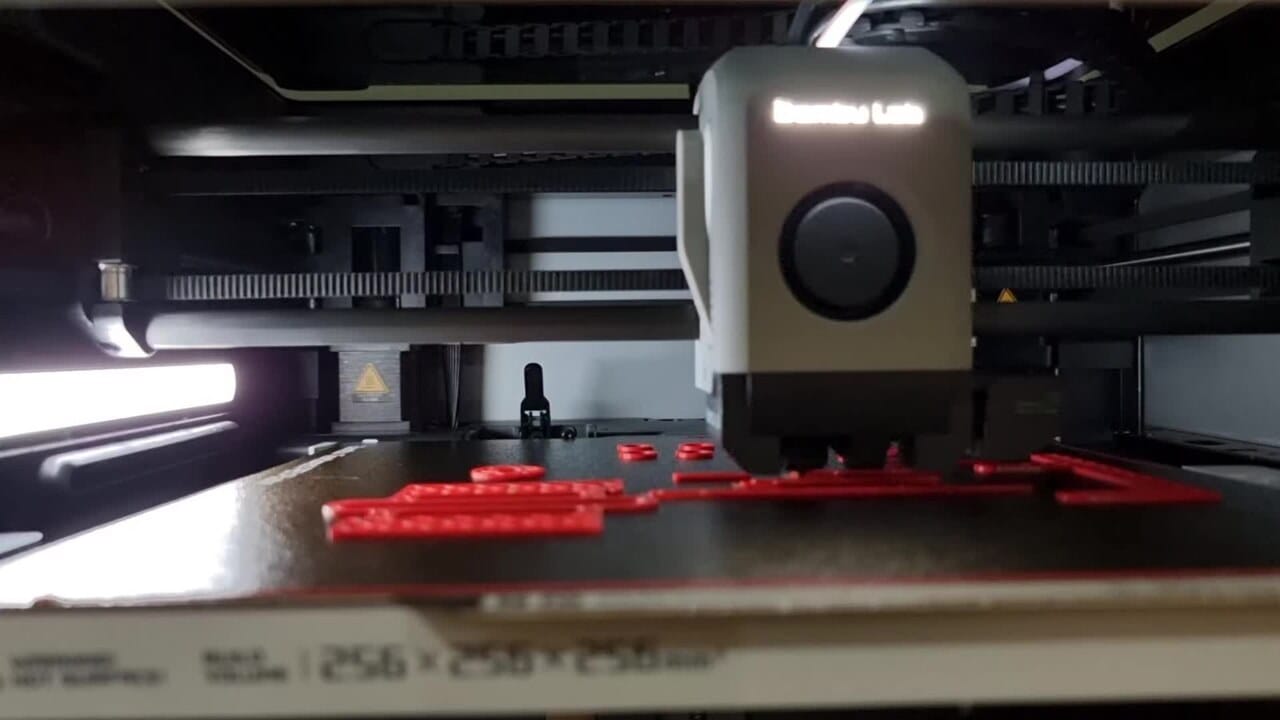
- Good lines look slightly flattened, touch their neighbours and remain fixed to the plate.
- Stop the job if filament follows the nozzle, gathers into loose loops, leaves large gaps or starts curling at an edge.
- Remove loose debris, clean and refit the plate, then restart rather than letting a failed first layer continue.
Step 7Cool the plate and remove the print
A cooled textured PEI plate releases prints more easily and reduces the chance of bending the finished part.
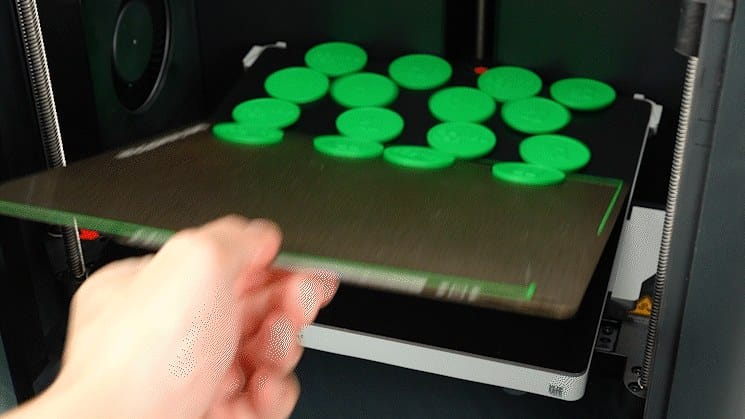
- Wait until the plate has cooled; Bambu states that textured PEI releases most easily at about 35 C or below.
- Lift the plate by its front tab or edges and keep fingers off the print surface.
- Flex the plate gently away from the part. If it still holds, cool it longer and use a suitable scraper carefully at a shallow angle.
Step 8Refit the build plate
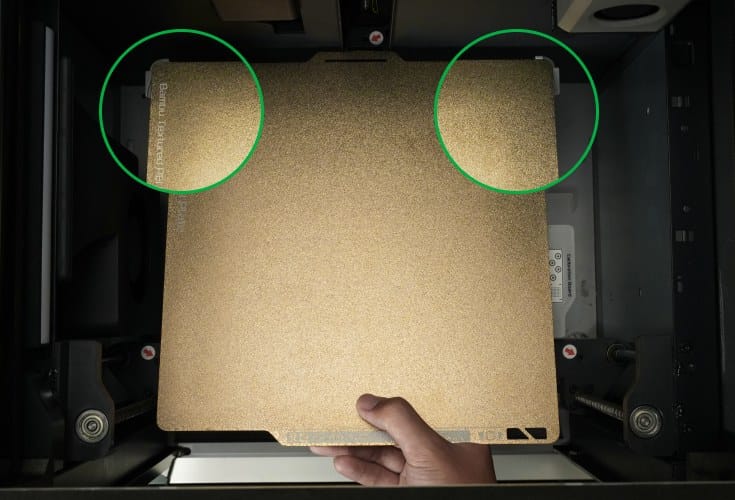
Align the rear edge first, then lower the plate flat onto the magnetic bed before the next print.
- Clear any plastic strands from the magnetic bed so they cannot hold a corner up.
- Place the rear edge between the two guides and slide it back against the stops.
- Lower the front and check that every corner lies flat; a raised or skewed plate can spoil the next first layer.
Sources
Guides and product information
The workflow is based on Bambu Lab documentation and the MakerWorld model library.