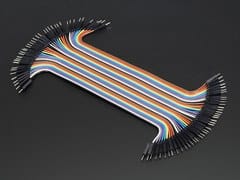
Choosing jumper wire ends
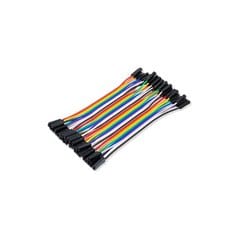
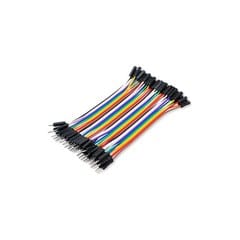
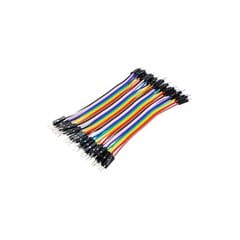
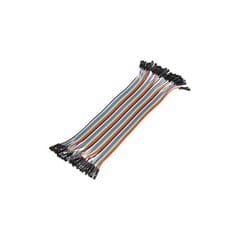
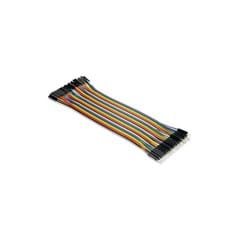
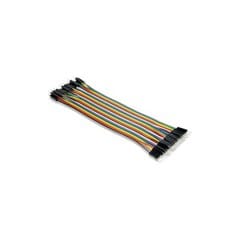
Male-to-male fits breadboards, female-to-male links modules to breadboards or headers, and female-to-female links pin headers directly.
We use cookies to understand how the site is used and improve it.
By Admin, 05/07/2026 · 2 min read
Item guide
This article explains how to use Jumper Wires in a MakerAccess project, with the key concepts, build route, and useful reference links.
Purpose
Build path
Start small, test the fit or circuit, then combine it with the rest of the project.
Build one small circuit first, then add parts one at a time.
Connect ground first, then power, then signal wires.
Upload a simple sketch and test the part before combining it with a larger build.
Connection guide
Use the visual map before adding extra modules, displays, motors, or code.
Male-to-male fits breadboards, female-to-male links modules to breadboards or headers, and female-to-female links pin headers directly.
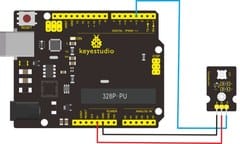
Most 37-in-1 modules start with VCC, GND, and one signal pin. Wire ground first, then power, then signal.
Project links
Open the reference that matches your project route.
No external project link is needed for this item.
Survey and feedback
Have an idea for what MakerAccess should stock, improve, or explain next? Share it in the survey. If you bought or used a product and want to comment on the item itself, use the product feedback form.
Do the surveyProduct feedback form