Building More With Tinkercad: A Phone and Cable Stand
By Admin, 16/09/2026 · 4 min read
A more advanced Tinkercad project than a keychain: a phone and cable stand built with Align, a hole cut through an upright wall, and a Union group. Part 4 of the series.
Tinkercad project
Building more than a keychain: a phone and cable stand
A keychain uses one flat plate. This project uses several boxes positioned precisely against each other, a hole cut through an upright wall instead of a flat plate, and a deliberate choice of group type, to build a small stand that props up a phone and gives its charging cable somewhere to go.
What's new here
Beyond the keychain
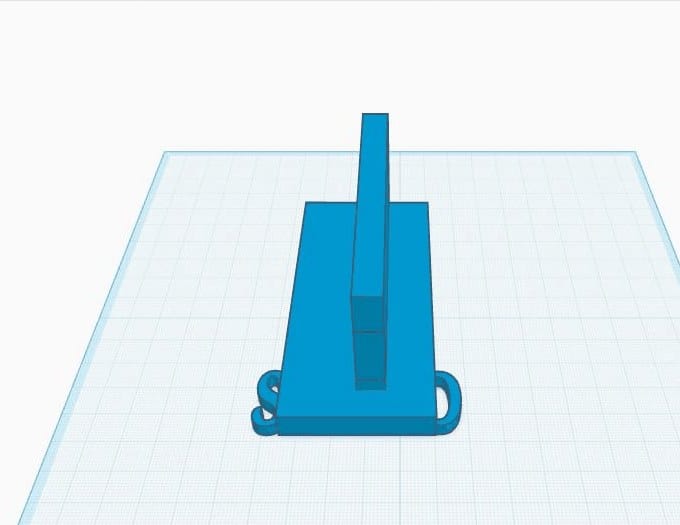
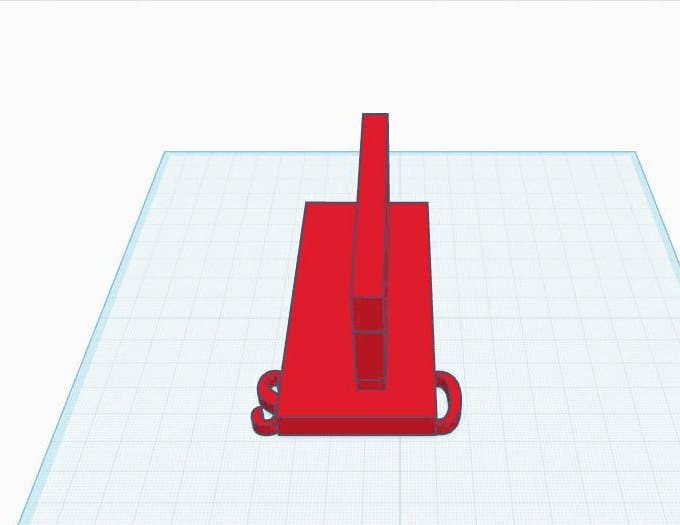
The finished stand: a base, an upright backrest, a cable slot, and a name on the front.
More than one solid shape has to line up with another, so this project leans on Align instead of moving things by eye.
The hole is cut through an upright wall, not a flat plate, using Tinkercad's habit of snapping a new shape onto whichever face is under the cursor.
Grouping at the end deliberately picks Union rather than the default Bundle, so the finished design exports as one solid colour.
Building it
Four steps, start to finish
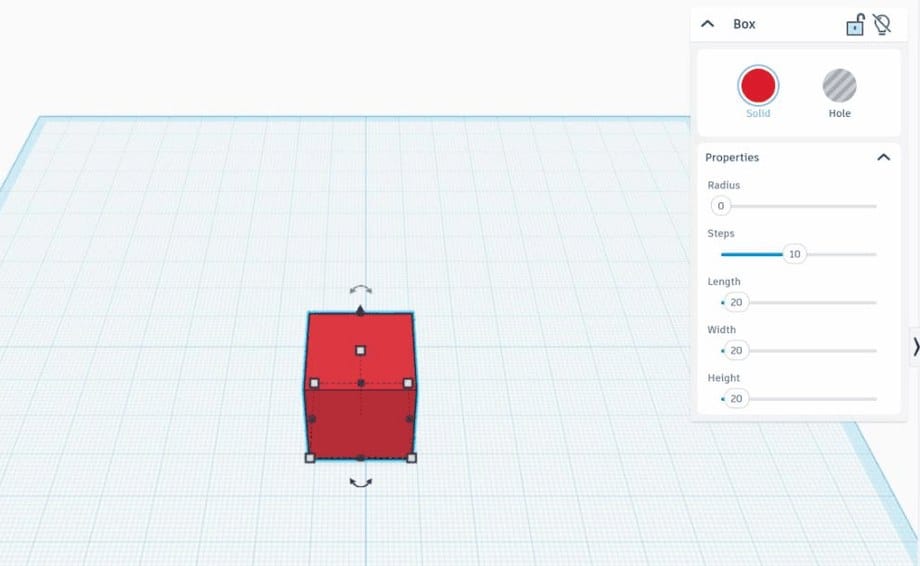
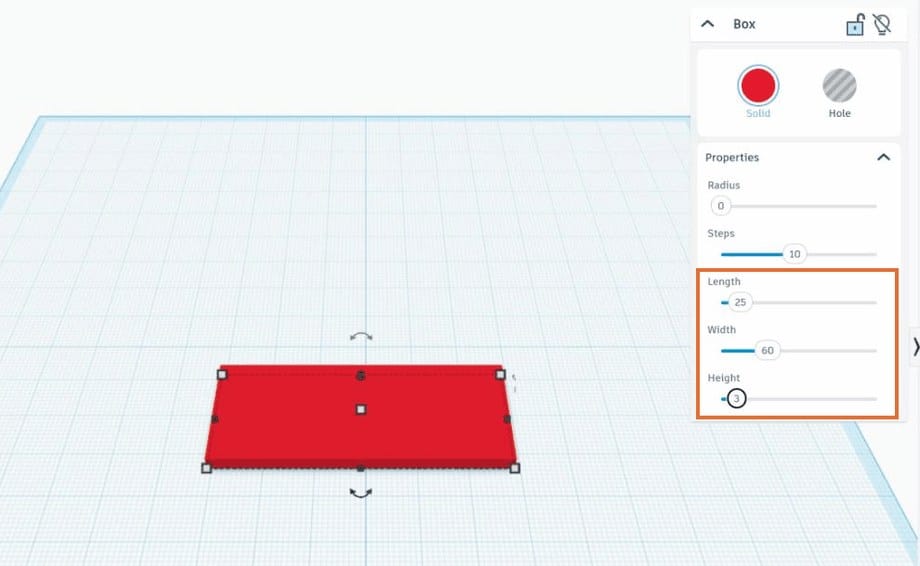
Sized in the panel: Length 100mm, Width 45mm, Height 8mm
Step 1
The base plate
A Box, dragged onto the workplane and sized in the panel, becomes the flat base the phone stand rests on. It needs to be wider than a phone and long enough front-to-back for the phone to lean at a comfortable angle.
Drag a Box onto the workplane.
Set Length to 100mm, Width to 45mm, Height to 8mm.
This becomes the base the whole stand sits on.
Step 2
The backrest wall, lined up with Align
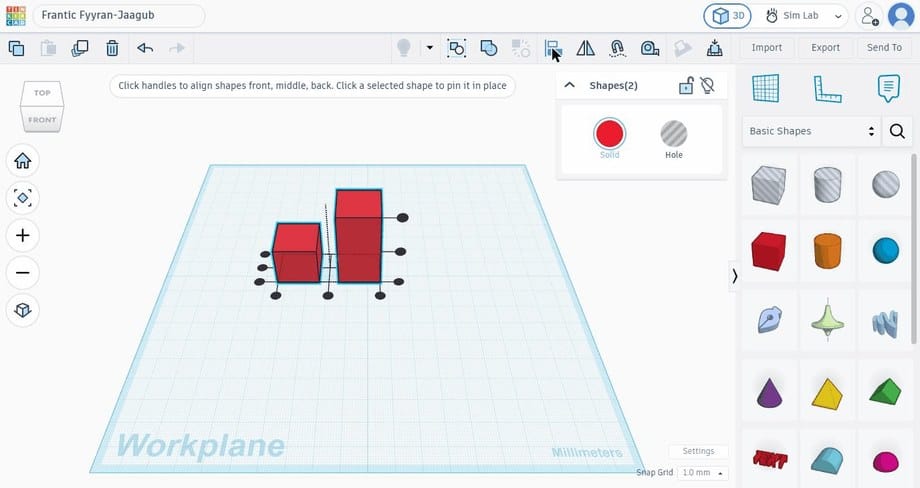
A second Box, taller and thinner, becomes the upright wall the phone leans against. Dropped onto the base plate, it starts near the middle rather than the back edge, so the Align tool is what actually lines it up: selecting the wall and the base together and clicking the back and centre dots moves the wall to sit flush against the back edge, centred left to right.
Drag a second Box on top of the base.
Set Length to about 90mm, Width to 8mm, Height to 45mm, so it stands up rather than lying flat.
Select the wall and the base together, click Align, then click the back dot and the centre dot.
The wall should now sit flush against the back edge, centred left to right.
Step 3
A cable slot through the wall
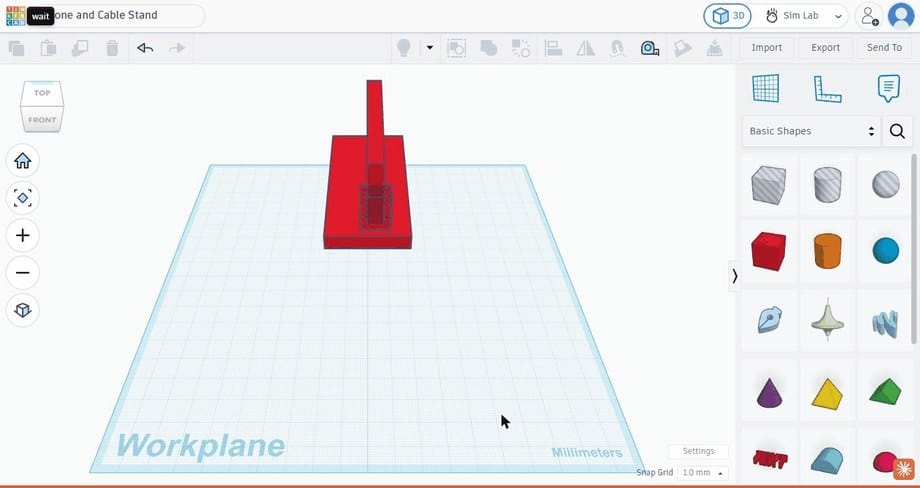
A charging cable needs somewhere to reach the phone without being squashed underneath it. A small Box, set to Hole and clicked directly onto the wall's front face, cuts a rectangular notch through the wall near its base. Making the hole's depth larger than the wall's own thickness guarantees it cuts all the way through rather than leaving a dent.
Drag a Box onto the wall's front face; Tinkercad snaps new shapes onto whichever face is under the cursor.
Set it to Hole in the panel.
Make its depth (front to back) larger than the wall's own thickness, so it fully punches through.
Position it low on the wall, where a cable would naturally reach a phone's charging port.
Step 4
A name, and one final Union
A Text shape, shrunk down and aligned to the front edge of the base the same way the wall was aligned to the back, adds a name or short label to the plate. Selecting everything with Ctrl+A and grouping it all as a Union, rather than the default Bundle, merges the base, the wall, the cut slot and the name into one solid, single-coloured shape ready to export.
Drag a Text shape onto the base plate, in front of the wall.
Replace the placeholder word with a name or short label.
Hold Shift and drag a corner handle to shrink it to fit the plate.
Select the wall, base, hole and text together with Ctrl+A.
Press Ctrl+G, then choose Union as the group type in the panel.
Pick a colour, then use Export to save an STL file.
Where this can go next
The same ideas, more shapes
The same combination, Align to position several boxes precisely, a Hole cut through an upright face instead of a flat plate, and Union to merge everything into one printable shape, builds a lot more than a phone stand. A pen holder, a small tray with dividers, or a wall hook all use the same handful of ideas in a different arrangement. Once a design is exported as an STL file, it's ready for the same slicing and printing steps as the keychain.