Bambu X1 Carbon Printing Guide
By Admin, 09/07/2026 · 4 min read
X1 Carbon
Print from Bambu Studio to the X1 Carbon
A simple workflow for preparing a model, sending a print, checking the first layer and removing the finished part.
Before each print
Prepare the printer
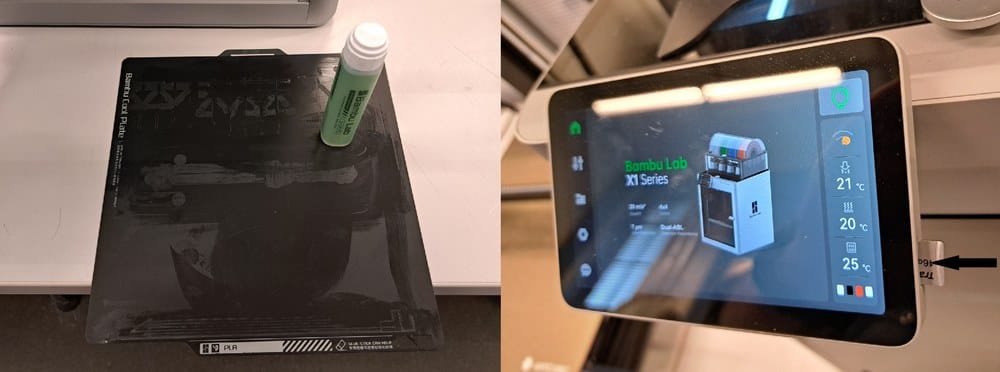
Make sure the plate, filament and printer status are ready before using Bambu Studio.
Before printing
Quick checks
- Plate is clean, flat and selected correctly in Bambu Studio.
- Filament type and AMS slot match the model.
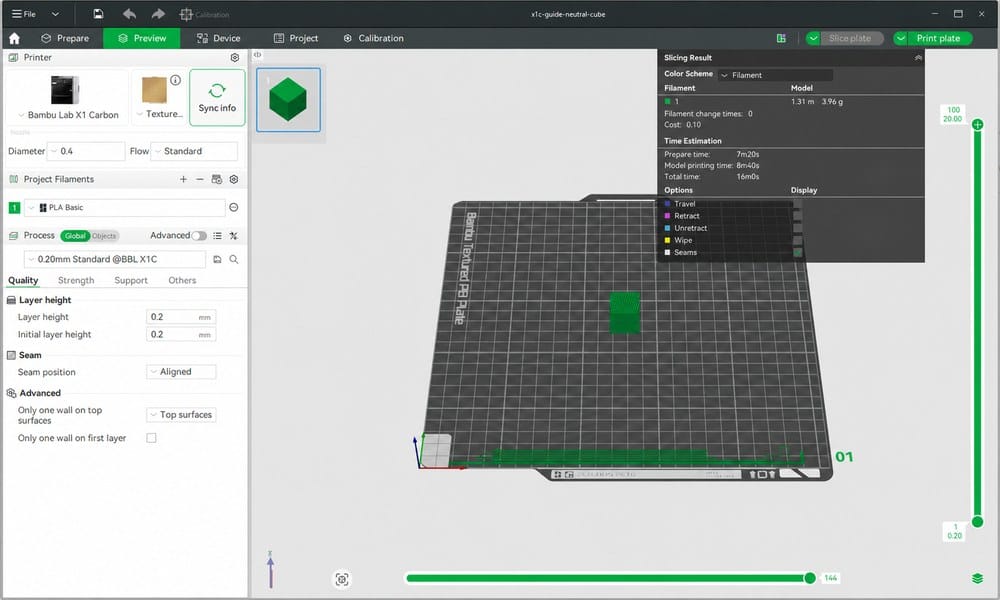
- Preview looks correct before sending.
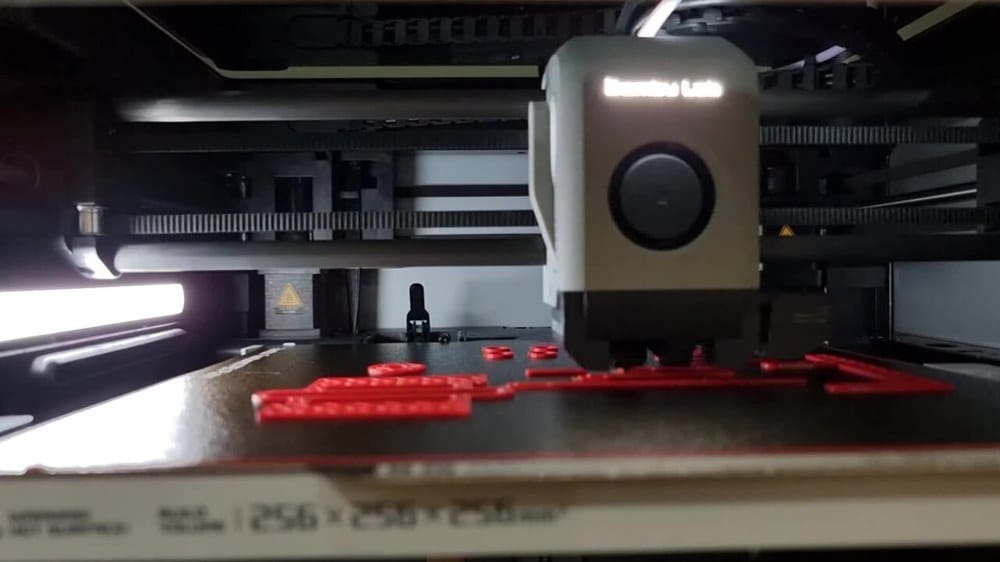
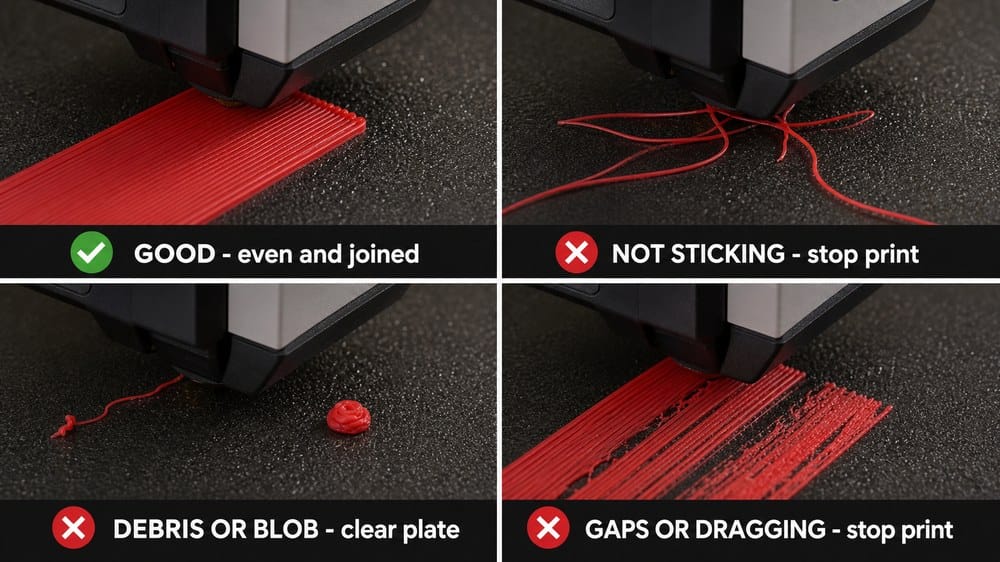
- First layer sticks cleanly without curling or blobs.
Useful concepts
What matters
Visual guide
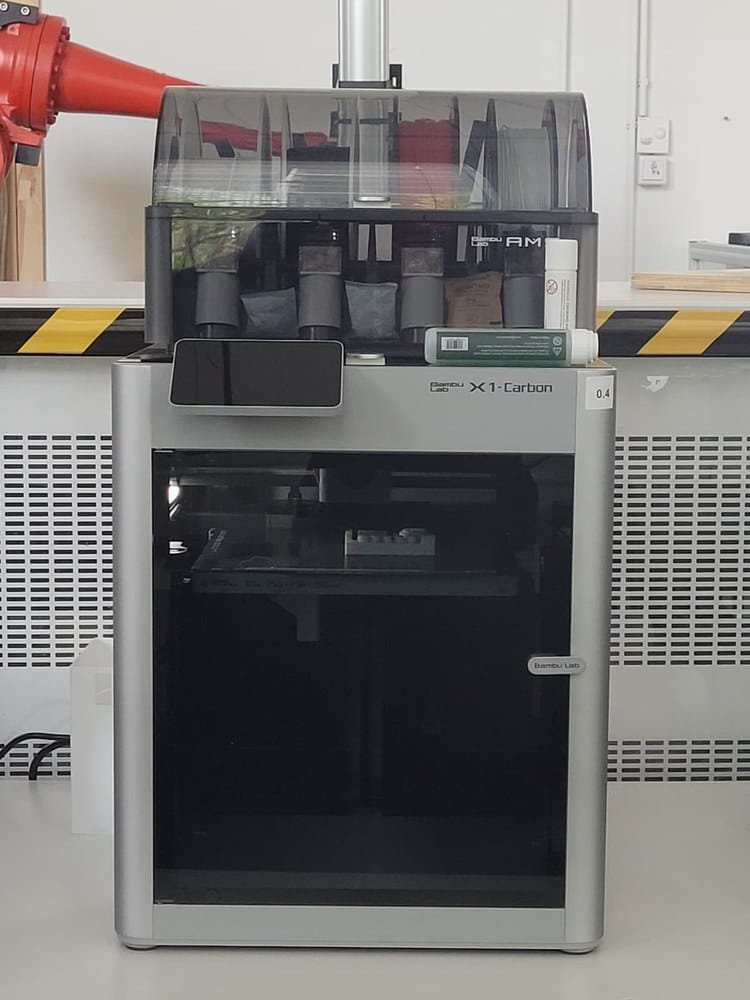
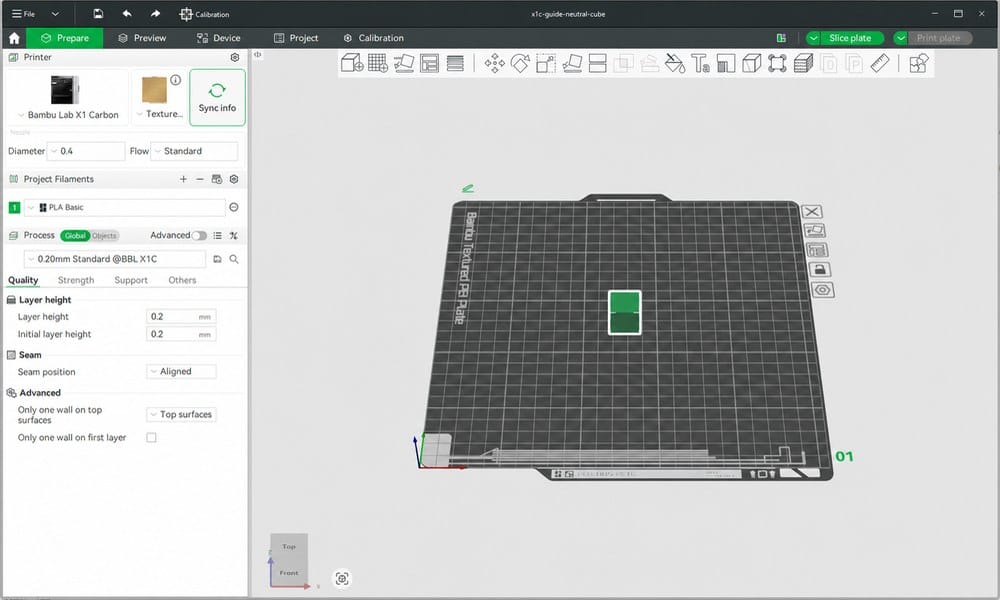
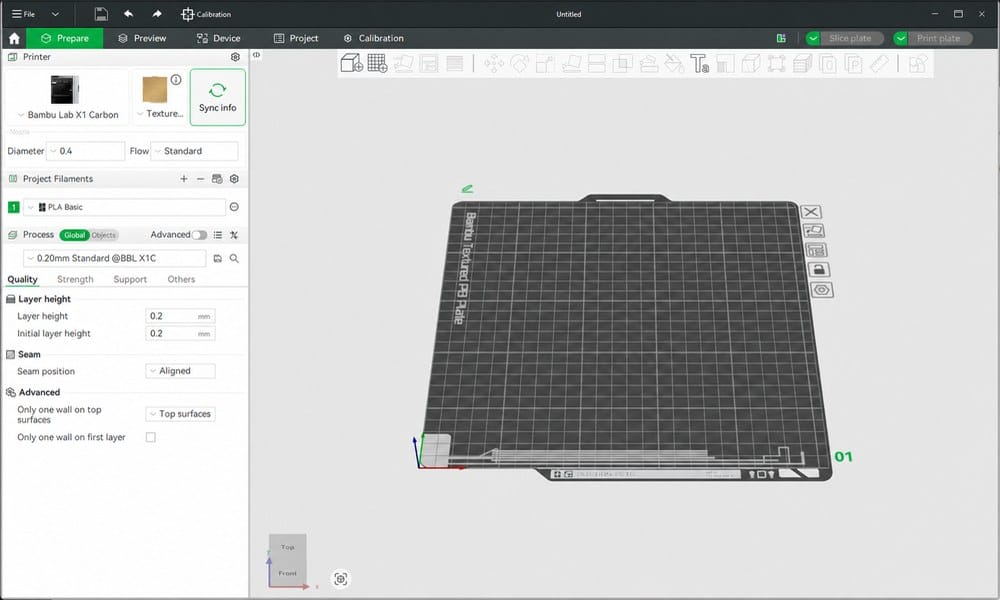
How to use the X1 Carbon
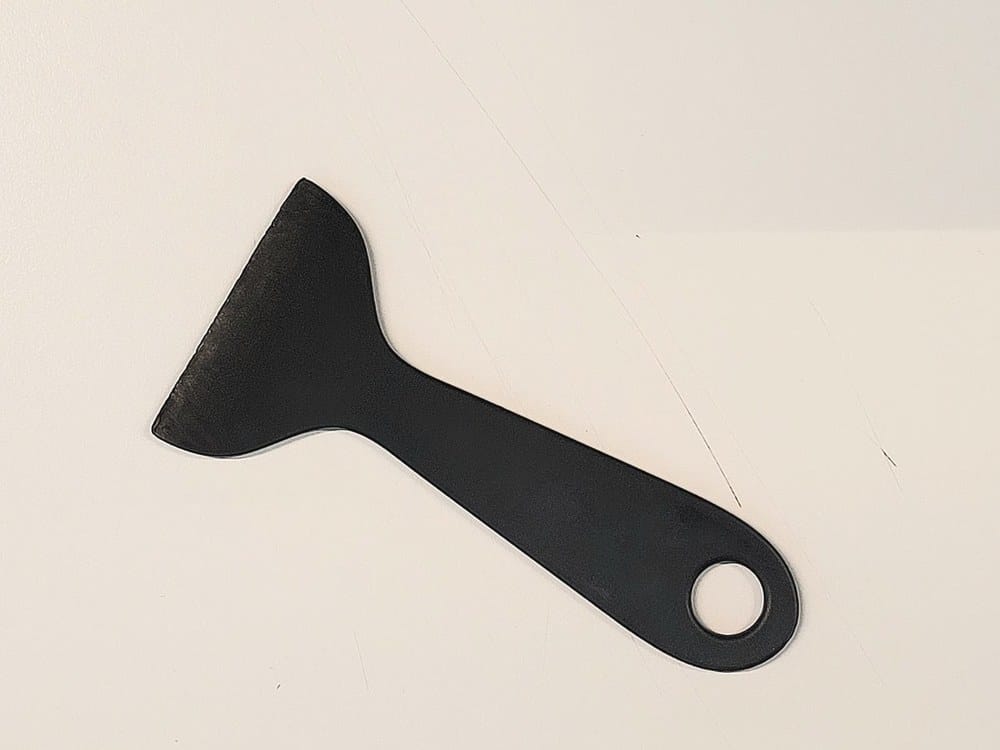
Each step includes the matching printer or Bambu Studio visual so the action is easy to identify.
After removing the print
Refit the build plate correctly
Align the rear edge first so the magnetic plate settles flat instead of landing on a guide or trapping debris underneath.
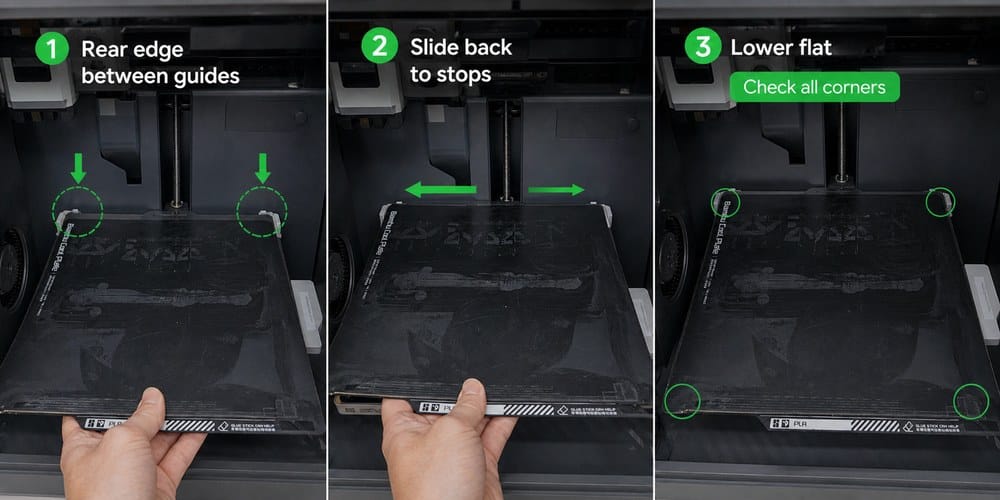
- Clean loose bits from the magnetic bed.
- Place the rear edge between the two back guides, then slide it back until it touches the stops.
- Lower the front flat and check that all four corners sit down evenly.
Troubleshooting
Common printer errors
Match the full message on the touchscreen, then open the guide for that part of the filament path.
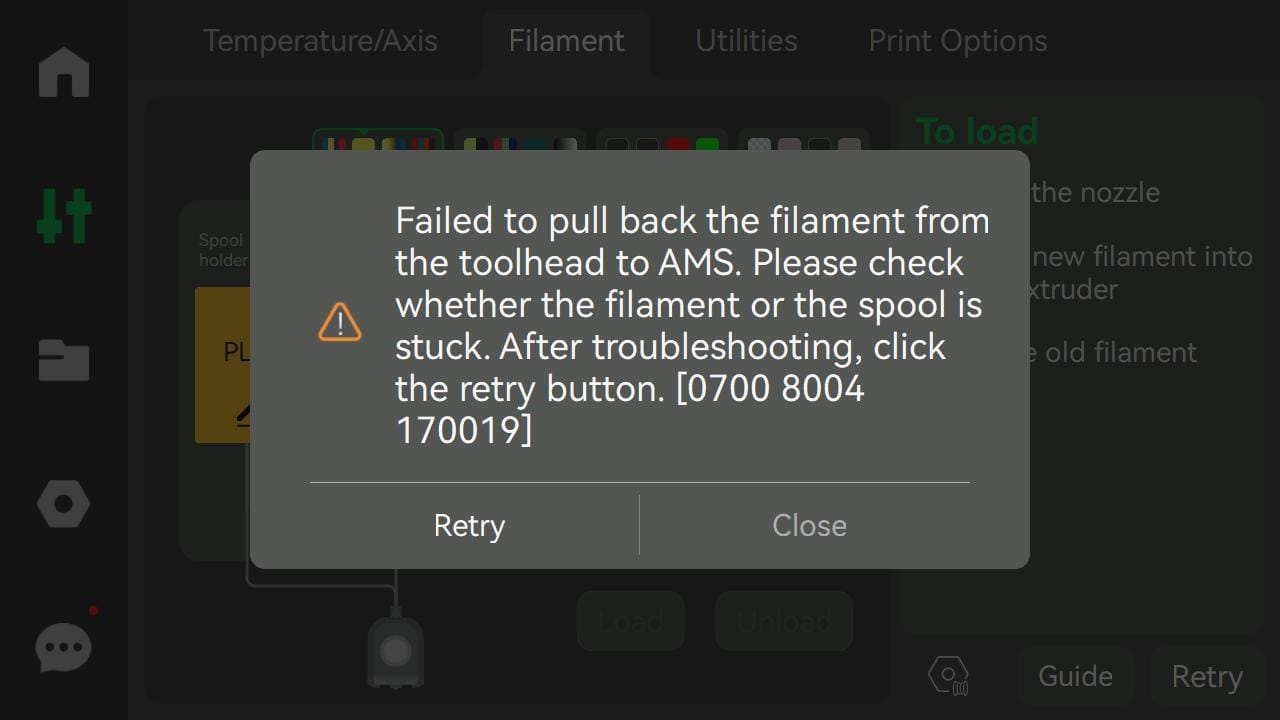
Filament cannot retract to the AMS
Check the toolhead, rear PTFE path, AMS hub and spool in that order.
Code shown: 0700 8004 170019 Open guide
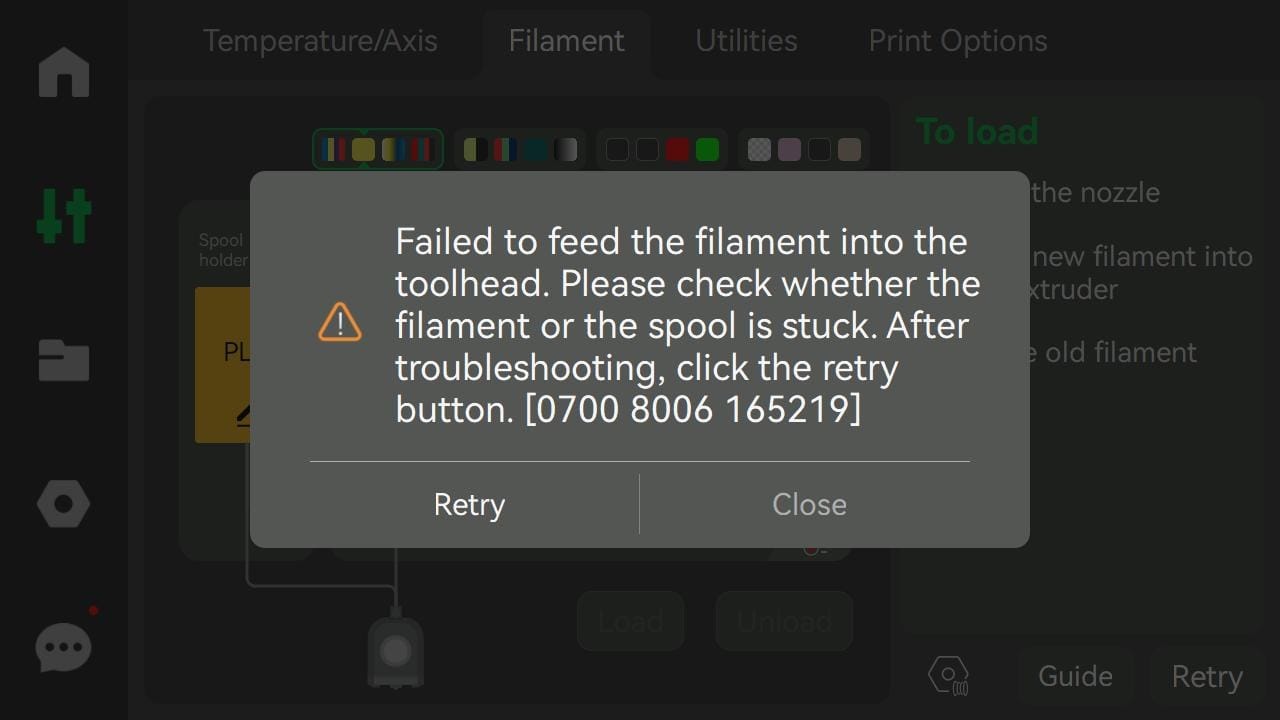
Filament cannot reach the toolhead
Locate the obstruction between the active AMS slot and the extruder sensor.
Code shown: 0700 8006 165219 Open guide
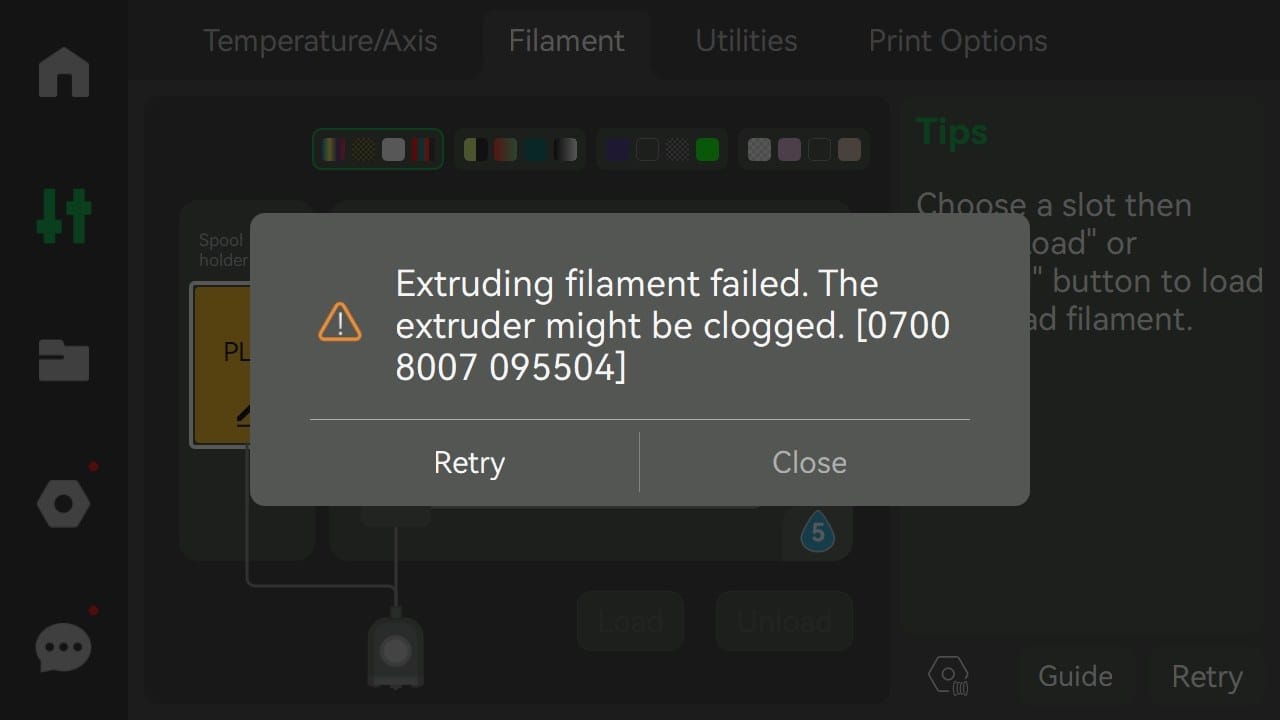
Extruding filament failed
Confirm the symptom, clear a simple nozzle blockage and test the flow.
Code shown: 0700 8007 095504 Open guide
Before retrying
Sources
References
The operating details were checked against these official and supporting sources.
Bambu Studio Quick Start Guide
Printing from Bambu Studio on X1
AMS setup and filament loading
Loading filament without AMS
Replacing filament without AMS
What to do after a print is finished
Introduction to Bambu Lab build plates
Wikimedia Commons: X1 Carbon printing in PLA
Creative Commons Attribution-ShareAlike 4.0 licence
Related articles

3D Printing Theory and Material Properties
Understand layers, stiffness, strength, toughness, heat resistance and slicer settings before building your next prototype.

Common 3D Printer Problems
A menu of common 3D printer problems, from power and extruder faults to filament, bed, temperature, motion, software and print-quality issues.

3D Printing on the Bambu Lab X1E
Use the X1E by matching the X1-series profile, secure network option, active chamber and filament before sending the job.