NTU MSE Materials Innovation Challenge Participant Resources
By Admin, 15/07/2026 · 4 min read

3D printing theory
Learn how layers, material properties, orientation and slicer settings affect your prototype.
NTU MSE MIC
Materials Innovation Challenge Participant Hub
Use this route to move from a project idea to a designed, wired and 3D-printed prototype. Open the software downloads first, then follow the guide for the current stage of your build.
Project route
Move from idea to tested prototype
Keep test results and measurements as the design changes; they provide the evidence for each revision.
Software and access
Set up the design tools
Install the software before project work begins, then confirm that each application opens and detects the required account or hardware.
Install FusionWindows and macOS installation steps.Get Fusion education accessEligibility, account verification and licence activation.Install Arduino IDEInstall IDE 2 and select a connected board and port.Install Bambu StudioInstall the slicer and add the correct printer profile.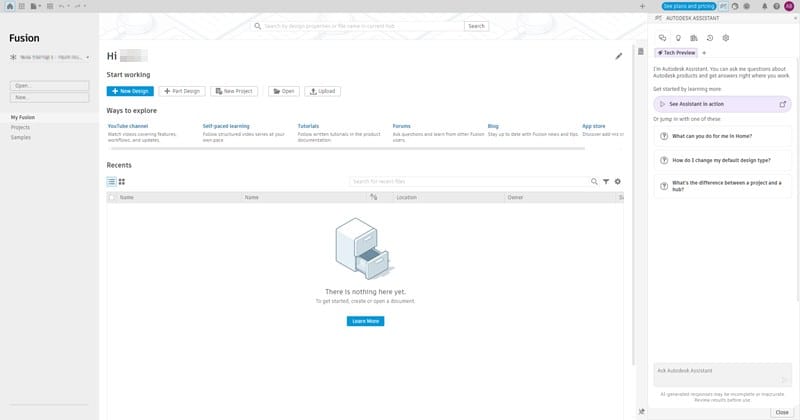
CAD
Design parts for fabrication
Start with constrained sketches, build editable features and check clearances before exporting a model for printing.
Fusion cup holder workshopWorkshop 3, step by step: five checkpoints, a stress study, a thermal study, a 3MF.Cup holder modelling stepsThe C profile, cup body, cavity, fillets and desk parameter.Static stress workshop stepsFixed slot faces, a 10 N load, mesh and the three result plots.Thermal workshop steps80 C cup wall, room-air convection and material options above 60 C.3MF export and slicing stepsSave As Mesh, Bambu Studio orientation and the sliced preview.Fusion for 3D printingThe full route from sketch to exported model.Sketches and constraintsCreate stable sketches with dimensions and geometric constraints.Printable bracketBuild a practical part with holes, thickness and fillets.Parametric modellingUse named parameters so key dimensions remain editable.Fits and tolerancesPlan clearance, press fits and a small calibration test.
3D printing
Prepare and run a print
Match the printer, build plate and loaded filament in the slicer, inspect the preview, then check the first layer before leaving the print to continue.
3D printing theory and material propertiesHow layers, material properties, orientation and slicer settings decide whether a part does its job.Choose a filamentCompare PLA, PETG, ABS, TPU and ASA for the part.Use Bambu StudioFind or import a model, slice it and send the print.Essential slicer settingsSet layer height, walls, infill, supports and brim.Advanced slicing techniquesUse adaptive layers, per-object settings and sequential printing.Print on the Bambu X1 CarbonPrepare the printer, check the first layer and remove the part.Print on the Bambu P1SA beginner route from model selection to print removal.Load and remove AMS filamentInsert, identify, unload and remove a spool correctly.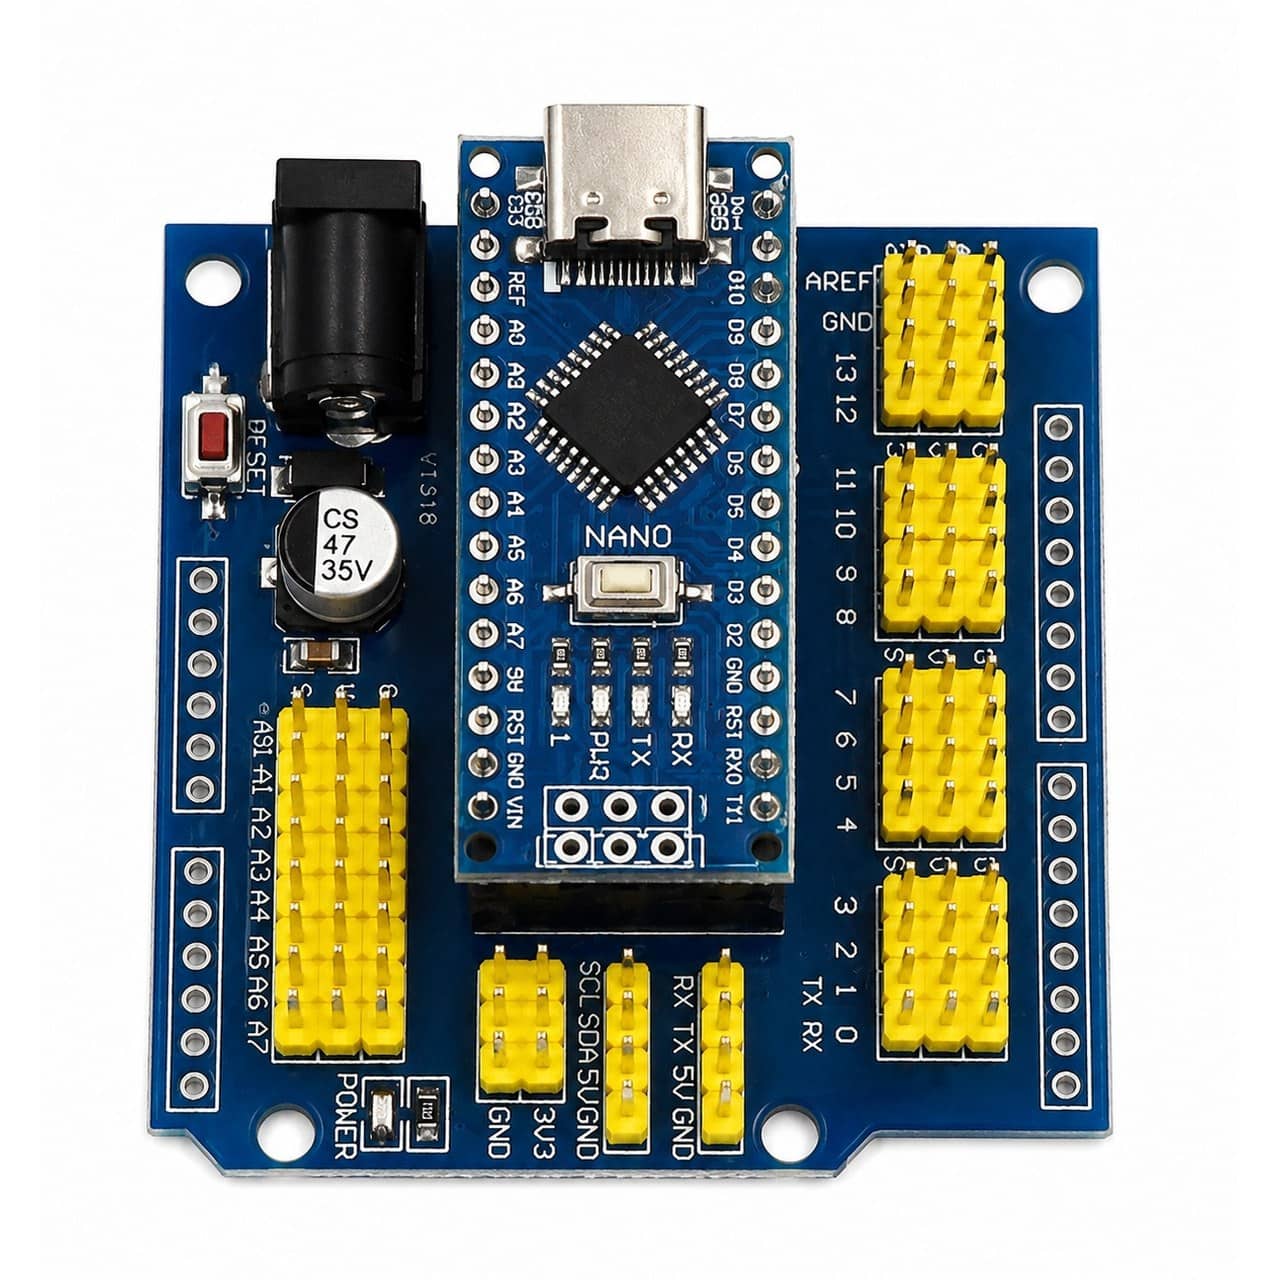
Electronics
Prototype circuits and sensor functions
Prove the smallest working circuit first: board connection, one input and one output. Add displays, motors and more sensors only after that test works.
Set up Arduino IDEInstall the software, connect the board and confirm the correct port.What runs the codeMicrocontroller against microcomputer, what a PLC is, and where a sketch lives in memory.Seating the Nano, and every pinSit the Nano on the shield properly, then G, V, S, PWM, analog and serial explained.Arduino Nano and DHT11 workshopThe full step-by-step build: wiring diagrams, five stages and every sketch to copy.Nano and expansion shield wiringPin map, G-V-S headers, module orientation and the pins that fail silently.Inside the DHT11The single-wire protocol, the 40-bit frame and what the accuracy figure means.DHT11 Arduino libraryInstall DHT11 by Dhruba Saha 2.1.0, then open File > Examples > DHT11 > ReadTempAndHumidity.KY-numbered 37-in-1 datasheetsVendor datasheets and original examples for the KY-coded modules.Sensor projectsPractical Arduino sensor builds and simulator links.Arduino Nano and expansion boardCompact board setup and expansion-board connections.37-in-1 sensor kitOpen the sensor kit guide and individual module pages.Challenge information
Official NTU MSE reference
Event format and eligibility can change. Use the current NTU MSE information for the challenge itself.
Related articles

NTU MSE Materials Innovation Challenge FAQ
Current answers about MIC 2026 eligibility, workshops, software, teams, competition dates, equipment, certificates and prizes.

Arduino Nano shield connections and PWM
How to sit the Arduino Nano on the I/O expansion shield so every pin connects, how to check it, and what each shield pin is: ground, voltage, signal, the six PWM pins and what PWM is for, analog, serial and power.

Microcontrollers, computers and PLCs
Understand how an Arduino Nano, a Raspberry Pi and a PLC run programs, store data and connect to sensors and outputs.